Google Forms is a free-to-use, online tool that allows you to select creative, branded options for pain-free, budget-friendly data collection.
Are you looking to gather feedback from an event or downloadable resource?
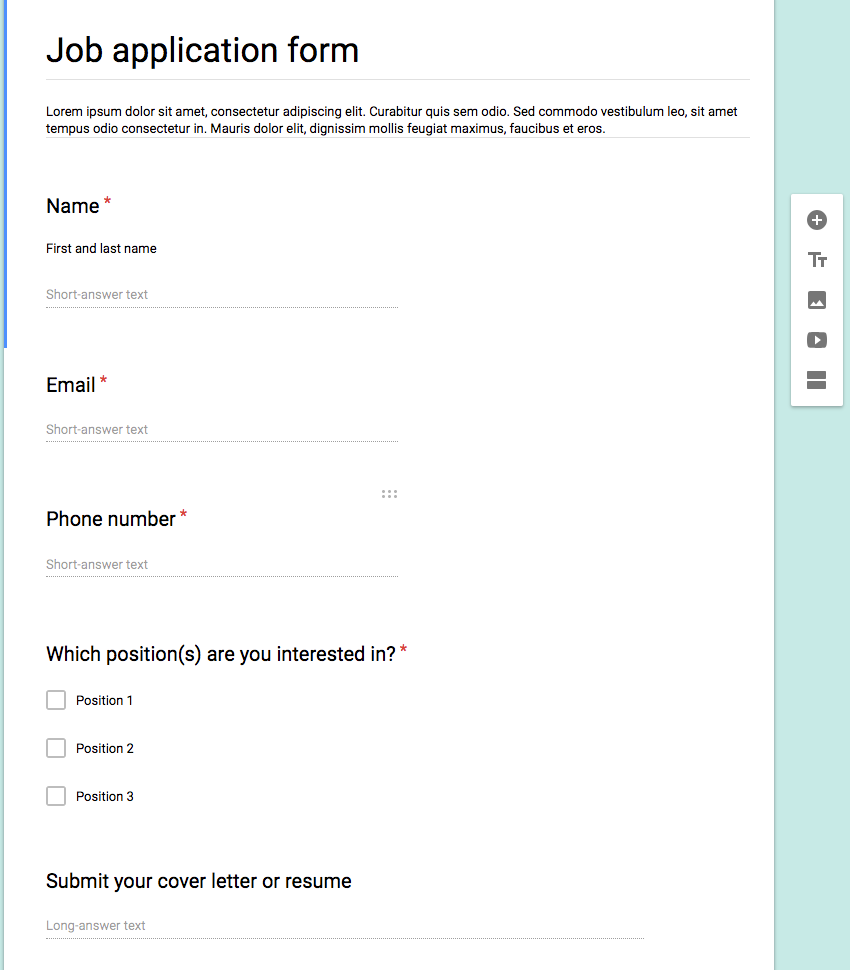
- Would you like to hire a new employee and want to find out specific elements about their experience or skillset?
- Are you hoping to create internal forms for employee holidays, sickness or contact information?
- Would you like to produce order forms or time/product management forms?
- Or, are you just looking for a simple way to create a quiz for your team’s monthly social?
Google Forms delivers on every one of these goals and the platform is incredibly easy for anybody to get to grips with.
1. Go to the website
Navigate to docs.google.com/forms, you will need to sign in with a Google account (if you use Gmail, your work email address should be accepted).
2. Choose a template

Choose a template from the library or opt for a ‘Blank’ form. For best results, we recommend:
Leads
- Contact Information
- Event Registration
Customer feedback
- Event Feedback
- Customer Feedback
Customer payments
- Order Form
Internal employees
- Job Application
- Time Off Request
- Find a Time
3. Customisation
Once you’ve chosen a template you can amend the sections of your form with the buttons for:
- Add question
- Add title and description
- Add image
- Add video
- Add section
There are also buttons at the top of your screen (where the banner image is) for:
- Add-ons
- Customise theme
- Preview

'Customise theme’ allows you to upload a header image, change your theme colour and background colour, plus amend the font style. It’s not completely customisable but will allow you to create a Google Form that will allow the reader to resonate.
4. Sharing
Once complete, you can then get a link for your Form to distribute through social media, text messaging or email. To do this, opt for ‘Send’ at the top right of your screen.
5. Closing
If your form is for feedback on a specific event etc., you can choose to close the form once you’ve got the appropriate amount of submissions or people are no longer using it. You can do this by clicking “Edit this Form” on the form you want to close. Then choose “Responses” and slide the button for “Accepting Responses” so it’s switched off.