Creating a landing page is a great way to add new subscribers to your existing email lists or build up a new one.
Nowadays, email marketing software goes beyond just classic email templates. Platforms like MailChimp and Klaviyo allow you to easily create landing pages in a few easy steps. Whether you want people to sign up for a free resource or enter a competition, it’s a great way to find out your customers’ information to segment future email campaigns.
We’re going to show you just how easy it is to set up a simple landing page using MailChimp.
Step 1

Sign into your MailChimp account. If you don’t already have a relevant list that you want your customers to be added into then you will need to create one. Otherwise, click onto the ‘Campaigns’ tab and select ‘Create Campaign’ in the top right hand side.
Step 2
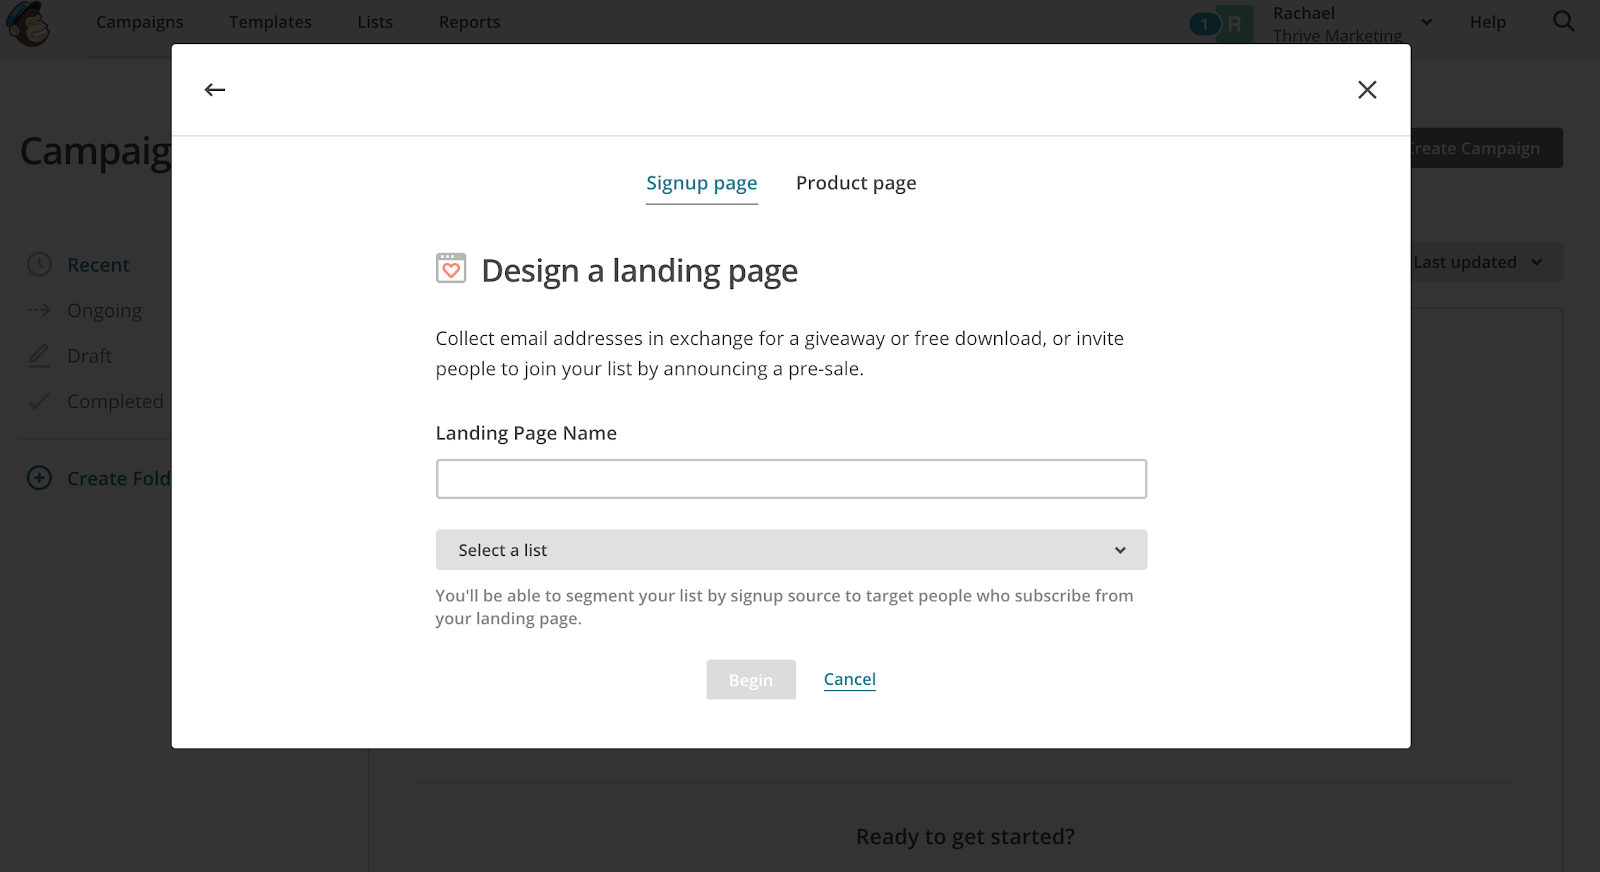
From this page, you have two options to choose from. A ‘Signup Page’ is the example we’re going to follow which is used to encourage customers to sign up to your list. Alternatively, if your shop is integrated with your MailChimp account, you can use the ‘Product Page’ to promote a specific product or advertise a sale.
Next, give your landing page a name you’ll recognise and select a list you want your sign ups to be added to.
Step 3
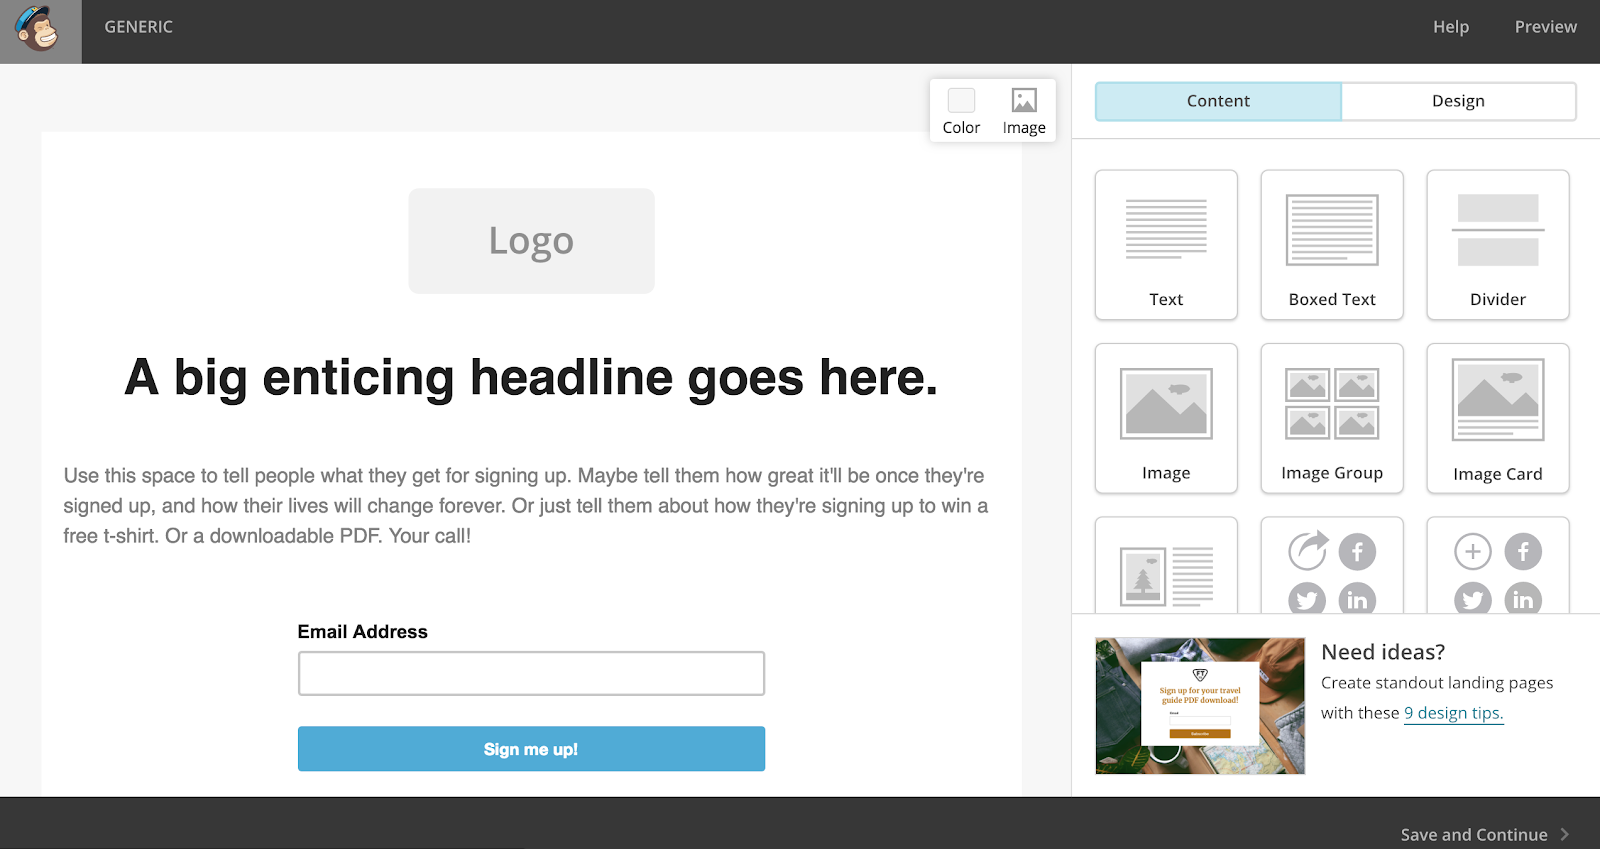
If you’ve created emails in MailChimp before, you’ll find creating a landing page very similar. The basic template is already set up for you. Upload a logo, choose a punchy headline and summarise what emails your customer will receive. Go into the design section to choose your colours and make your landing page unique to your company.
Step 4
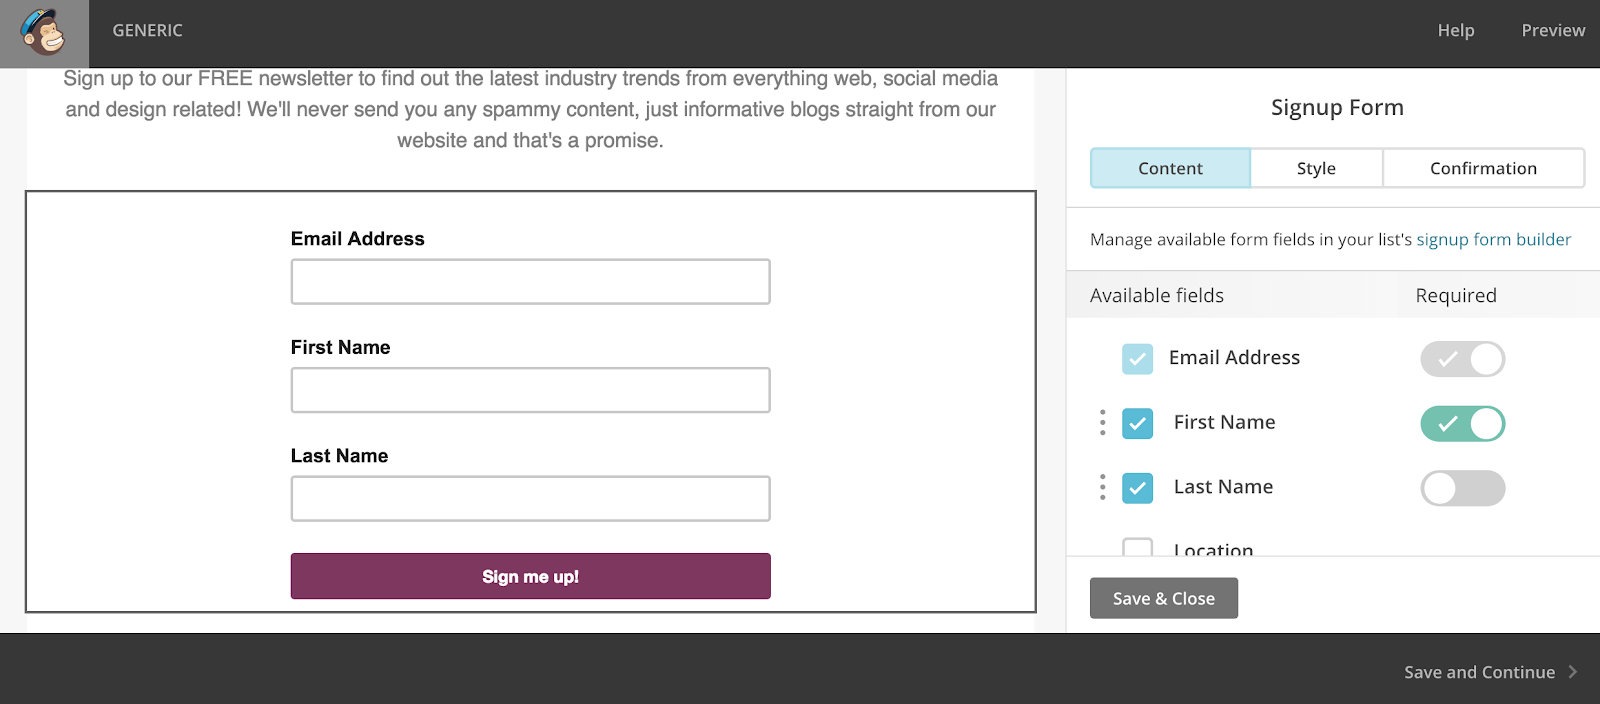
Within the ‘Signup Form’ section, you can use additional fields to aid segmentation in your email campaigns. You can also choose whether each section is required or if the customer can skip it. It is important to take into account that personalised subject lines are 26% more likely to be opened than non-personalised emails.
Step 5
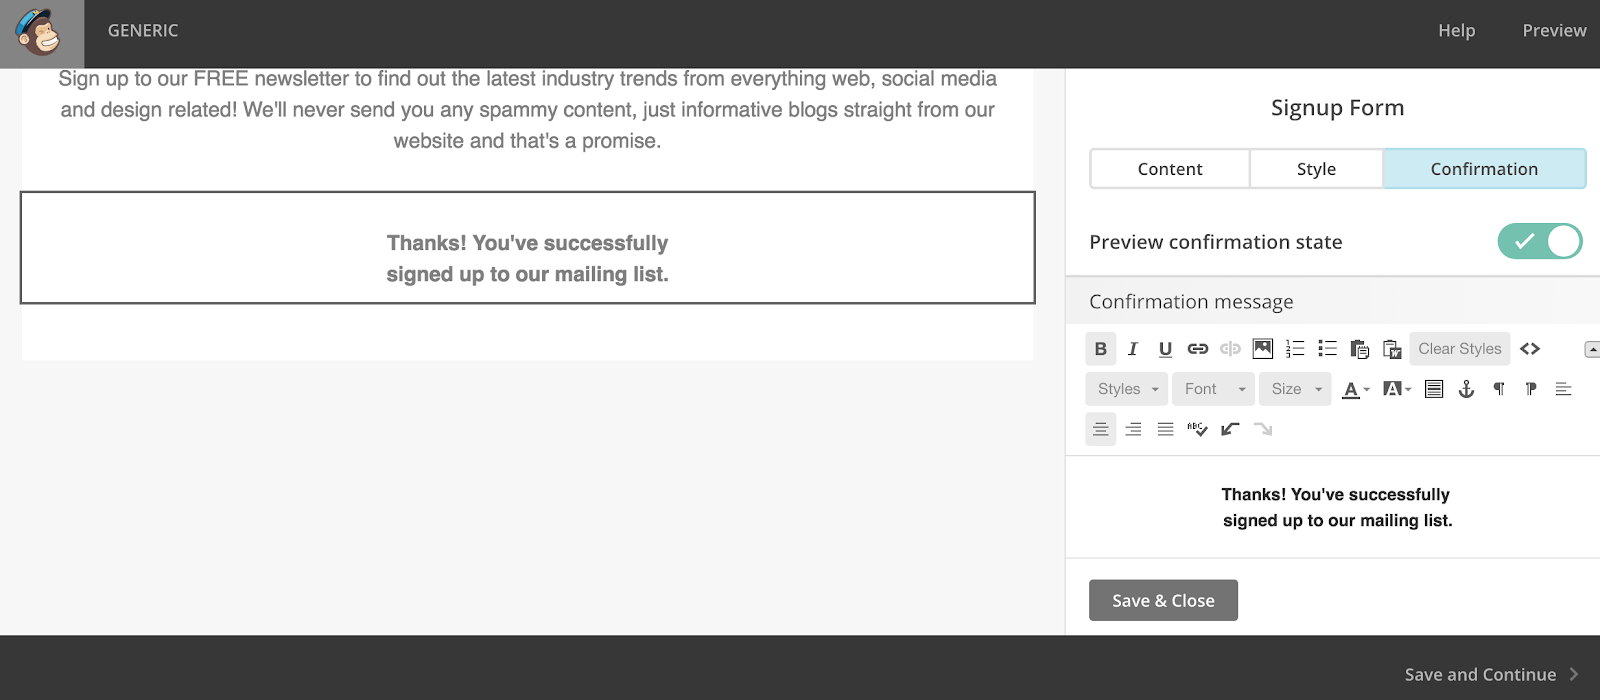
It is worthwhile altering your confirmation text to ensure that your customers know exactly what they have signed up for. Whether they’ve entered a prize draw or registered for a weekly newsletter, make it clear what they have agreed to.
Step 6
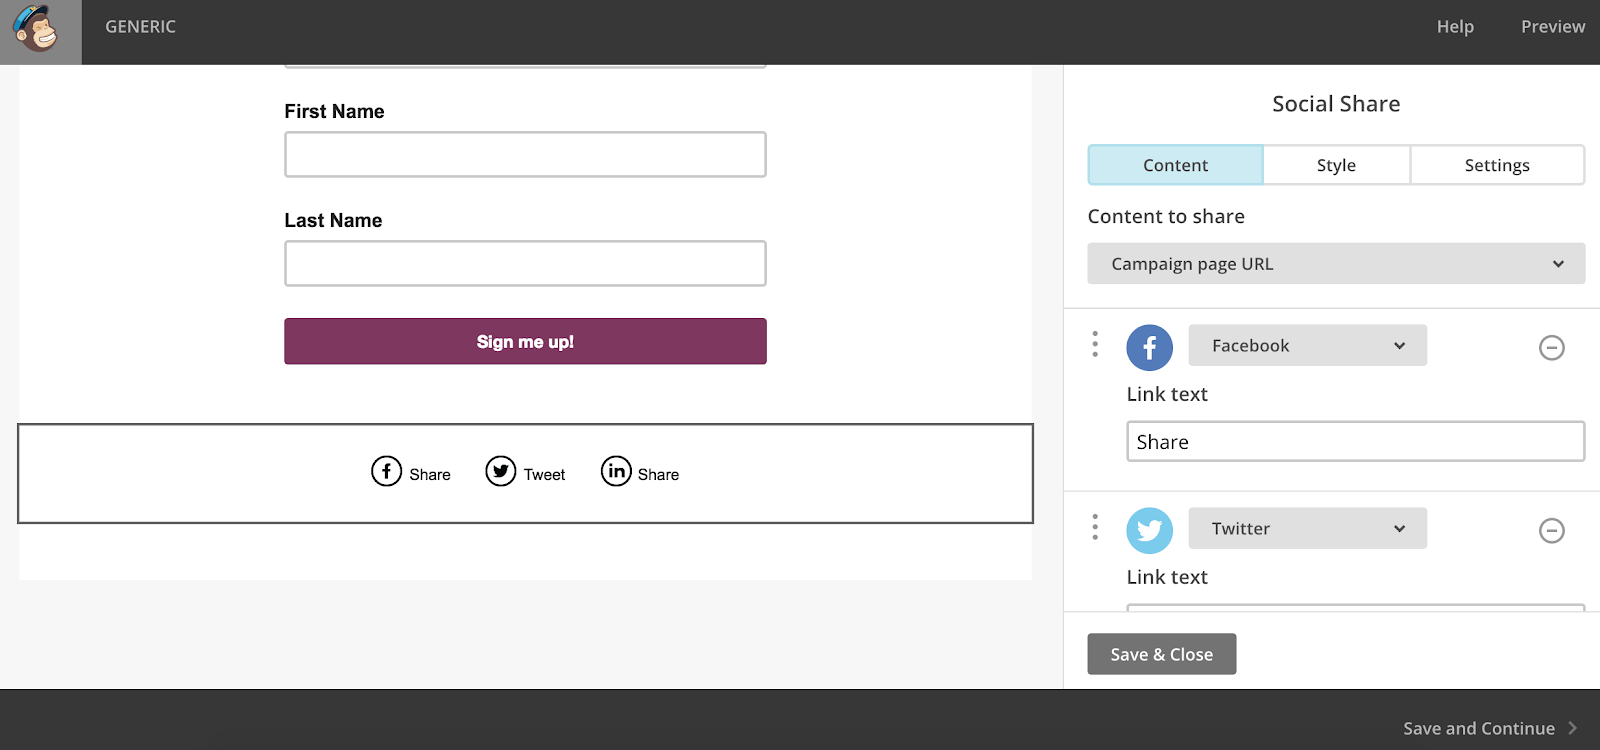
For the last stage of setting up your landing page, it would be beneficial to add in social sharing. This means people can share this particular landing page across their social media, amplifying reach and encouraging more people to sign up.
Step 7
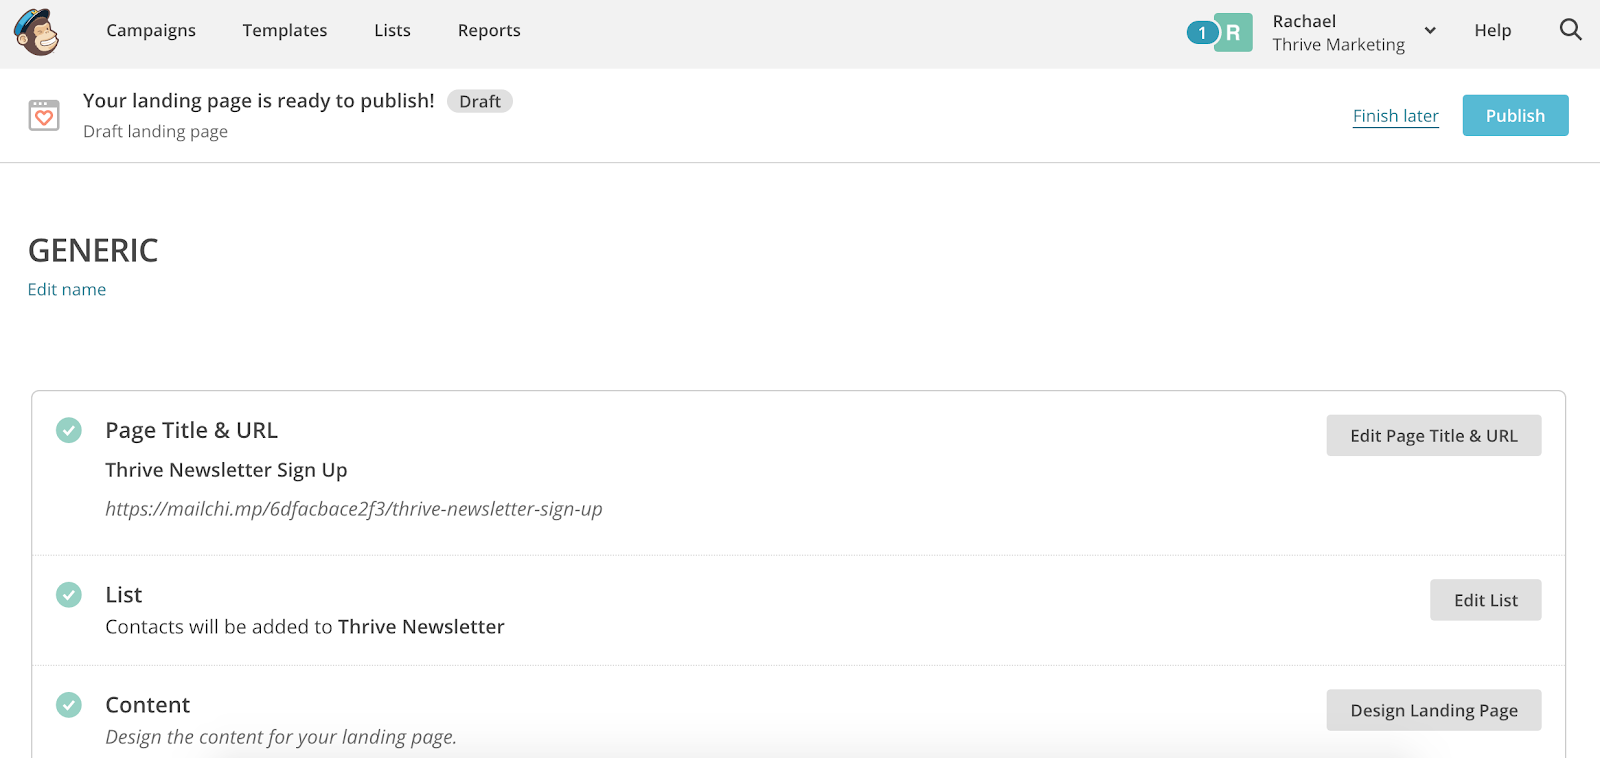
Once you’re happy with the design of your landing page, it’s time to enter a suitable page title which will alter the shareable URL. Check that all of the details are correct and hit ‘publish’ to make your page live!
Now it’s time to get sharing. Share the URL of your landing page across your social media accounts or add CTAs in future emails to segment your customers into different lists.
Struggling with your email campaigns? Check out our Content Marketing service.