LinkedIn is crucial for business owners and, indeed, professionals at all levels of their career, to at least be present on.
Ideally, you should be actively engaging with clients, suppliers and your wider networks to make the most of the business opportunities available on LinkedIn.
First of all, you need to create, or update your personal profile, so that it gives a professional and warm impression.
Research from eMarketer suggests LinkedIn continues to be a booming platform:
"In 2019, LinkedIn ad spend is expected to reach $1.02 billion in the US. This is a 40% growth in ad spend since 2016. LinkedIn is quickly becoming a staple advertising channel for B2B marketers."
How to create your personal LinkedIn profile
Step 1: Enter your key details

This is the linkedin.com homepage and asks for first name, last name, email address and a password.
Once complete, a step-by-step tutorial will now launch to help walk you through the basics required to create a profile.
Step 2: Welcome to the tutorial
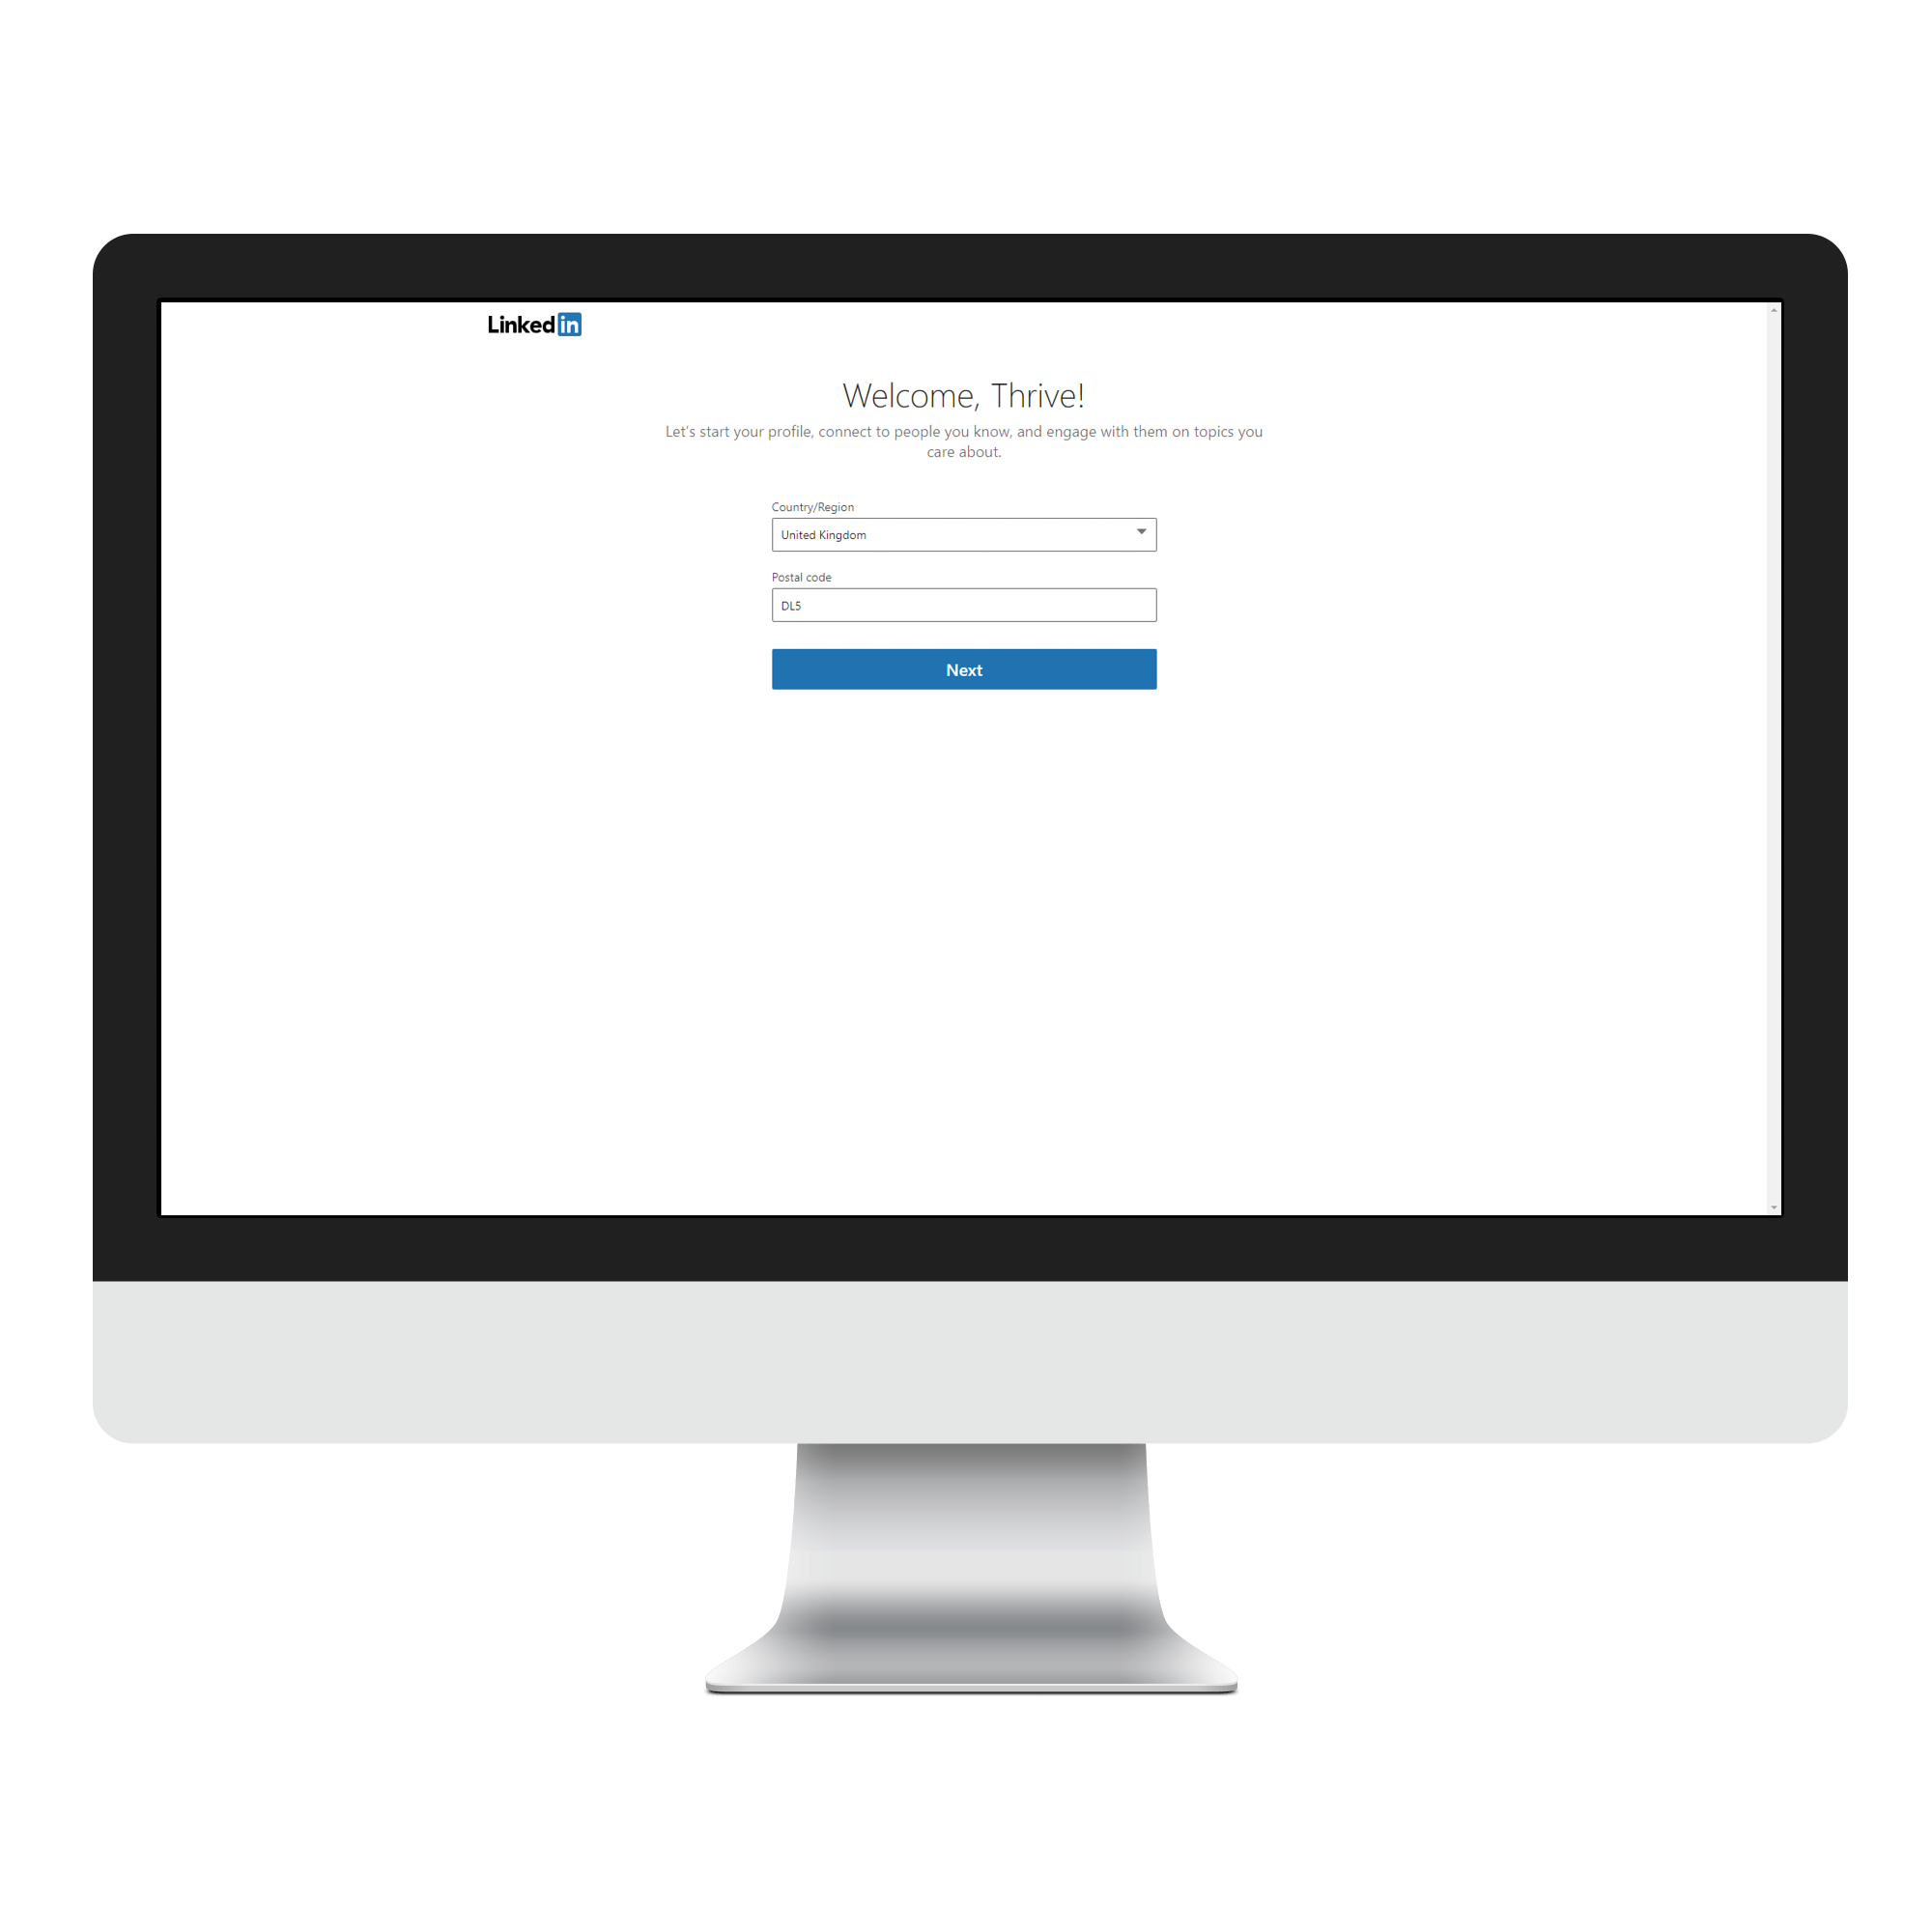
LinkedIn asks for your location to show you people in your area and who may be of interest to you, based on similar connections and your industry - all of which you input later.
Step 3: Your role
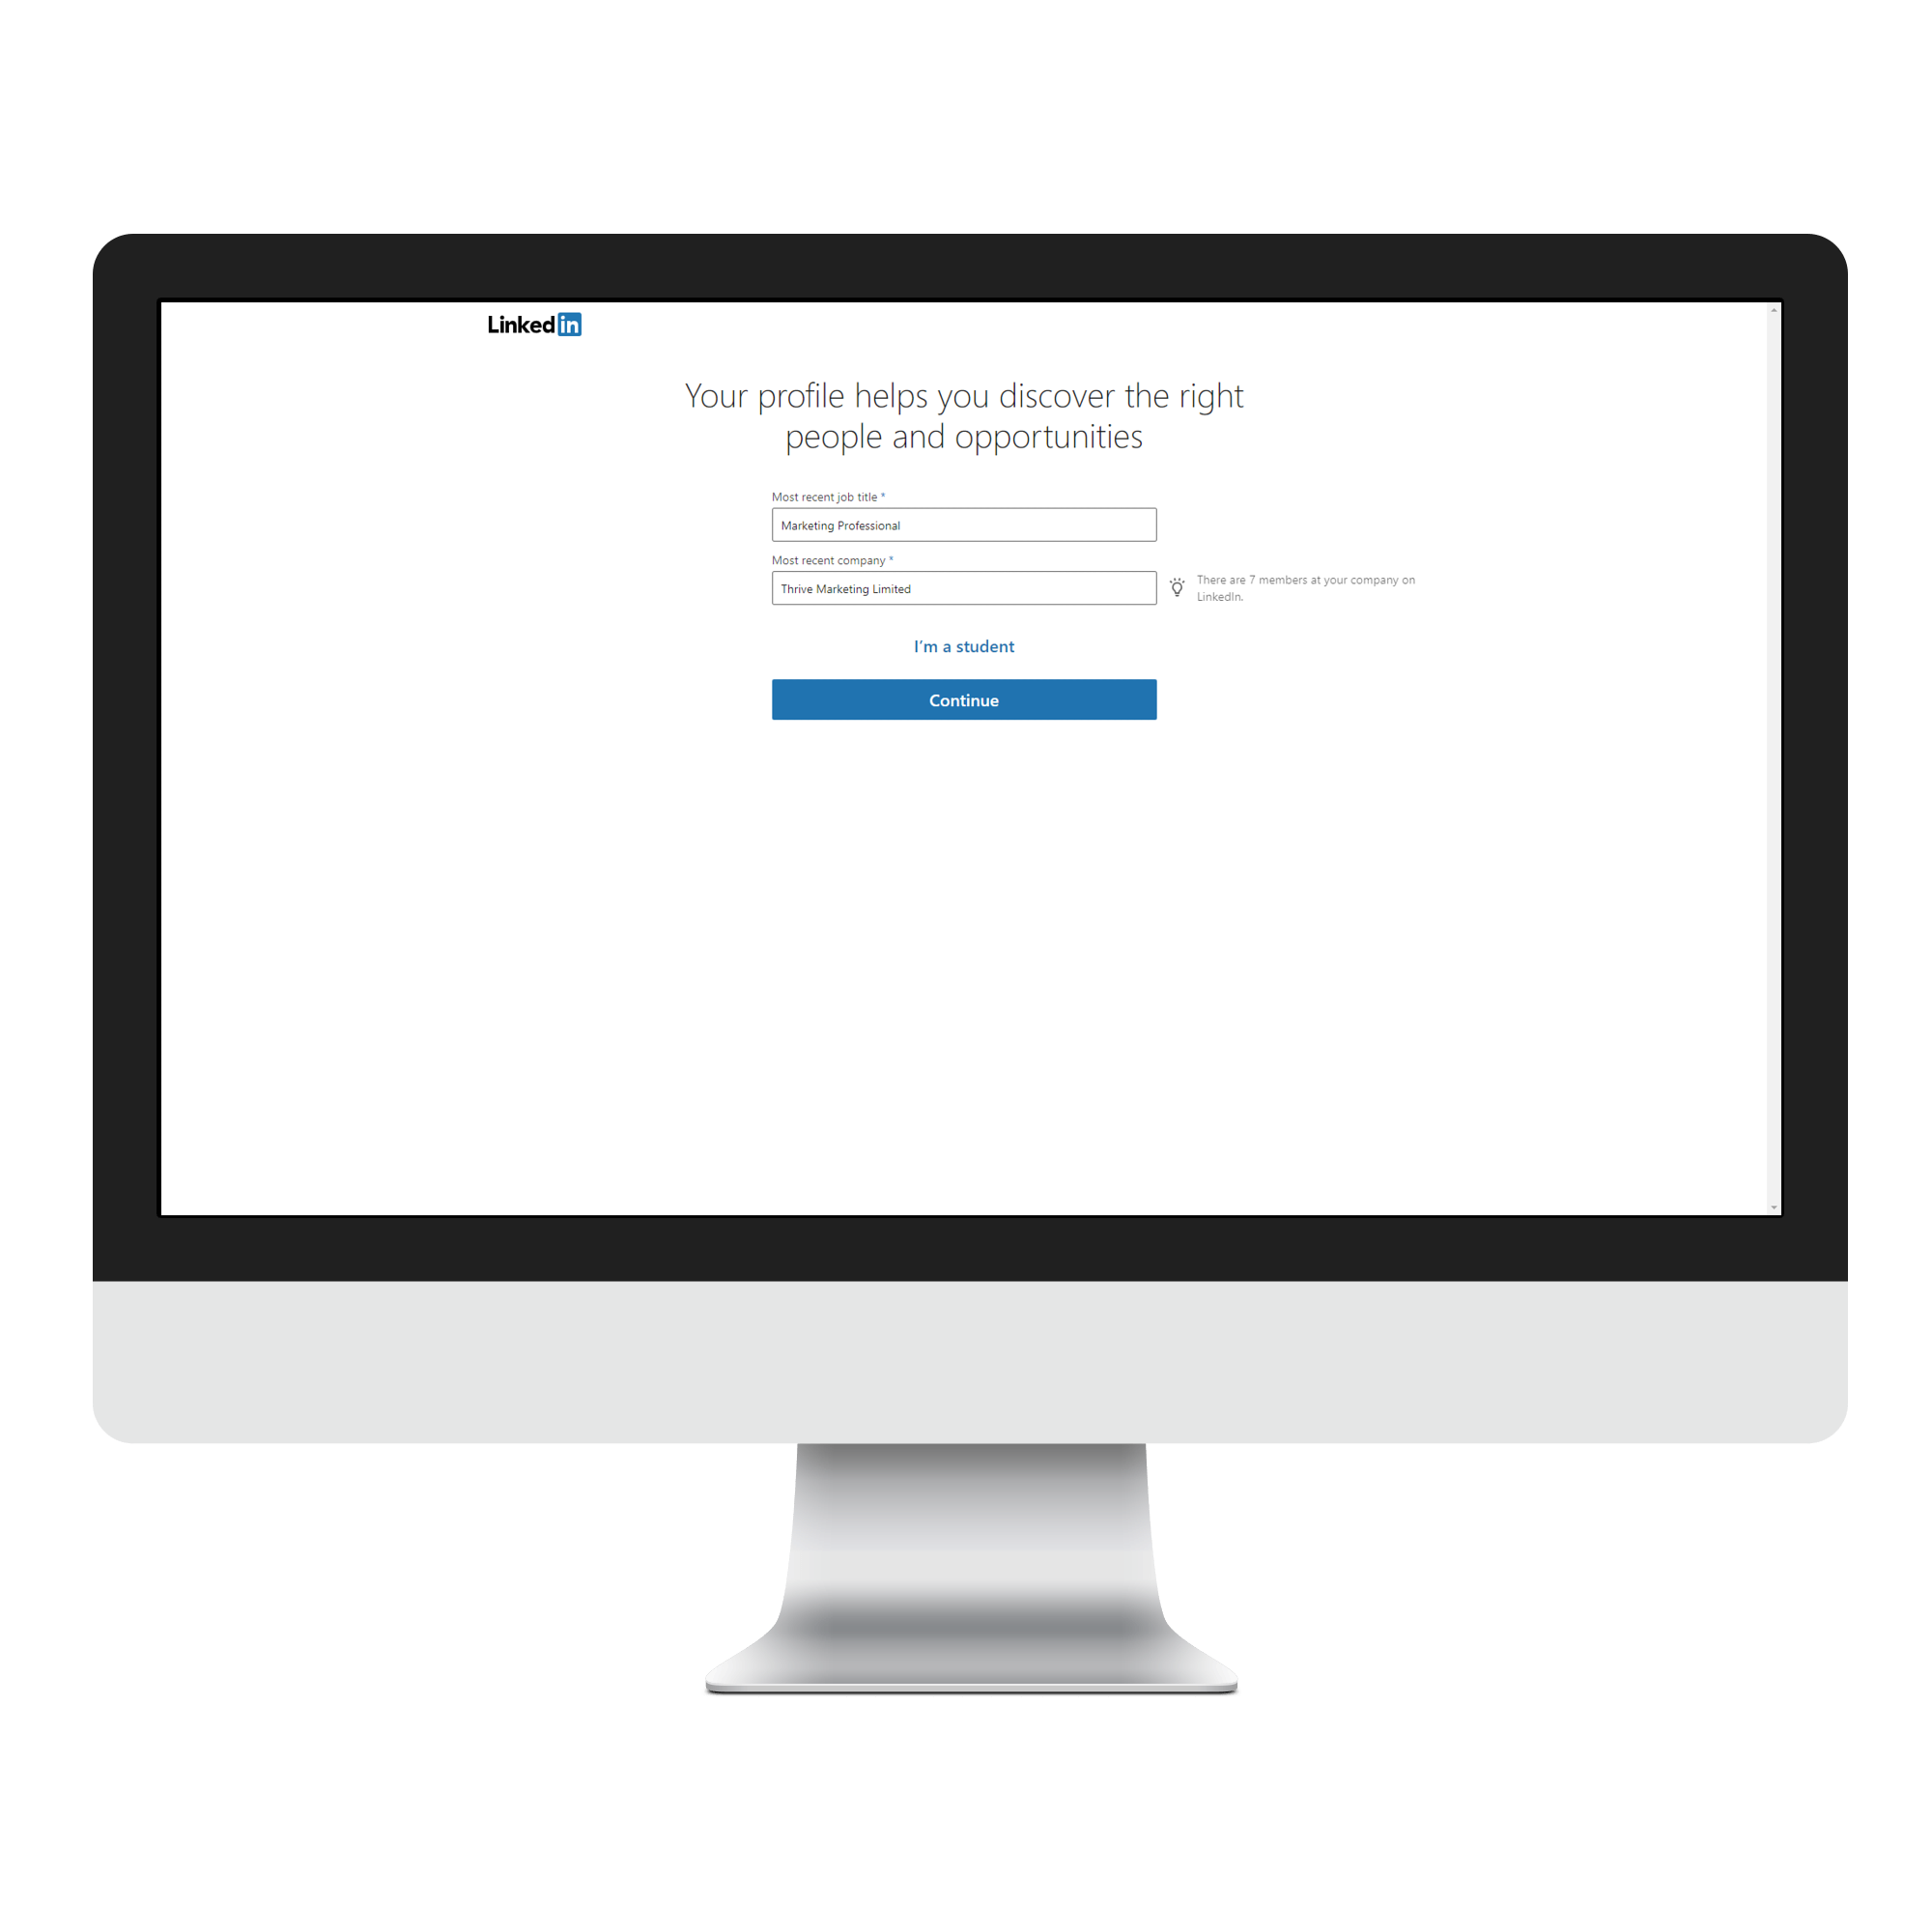
Fill in your most recent job title and your company. The 'Most recent company' will link to a company profile if your organisation has one, as shown in the image below.
Step 4: Security confirmation
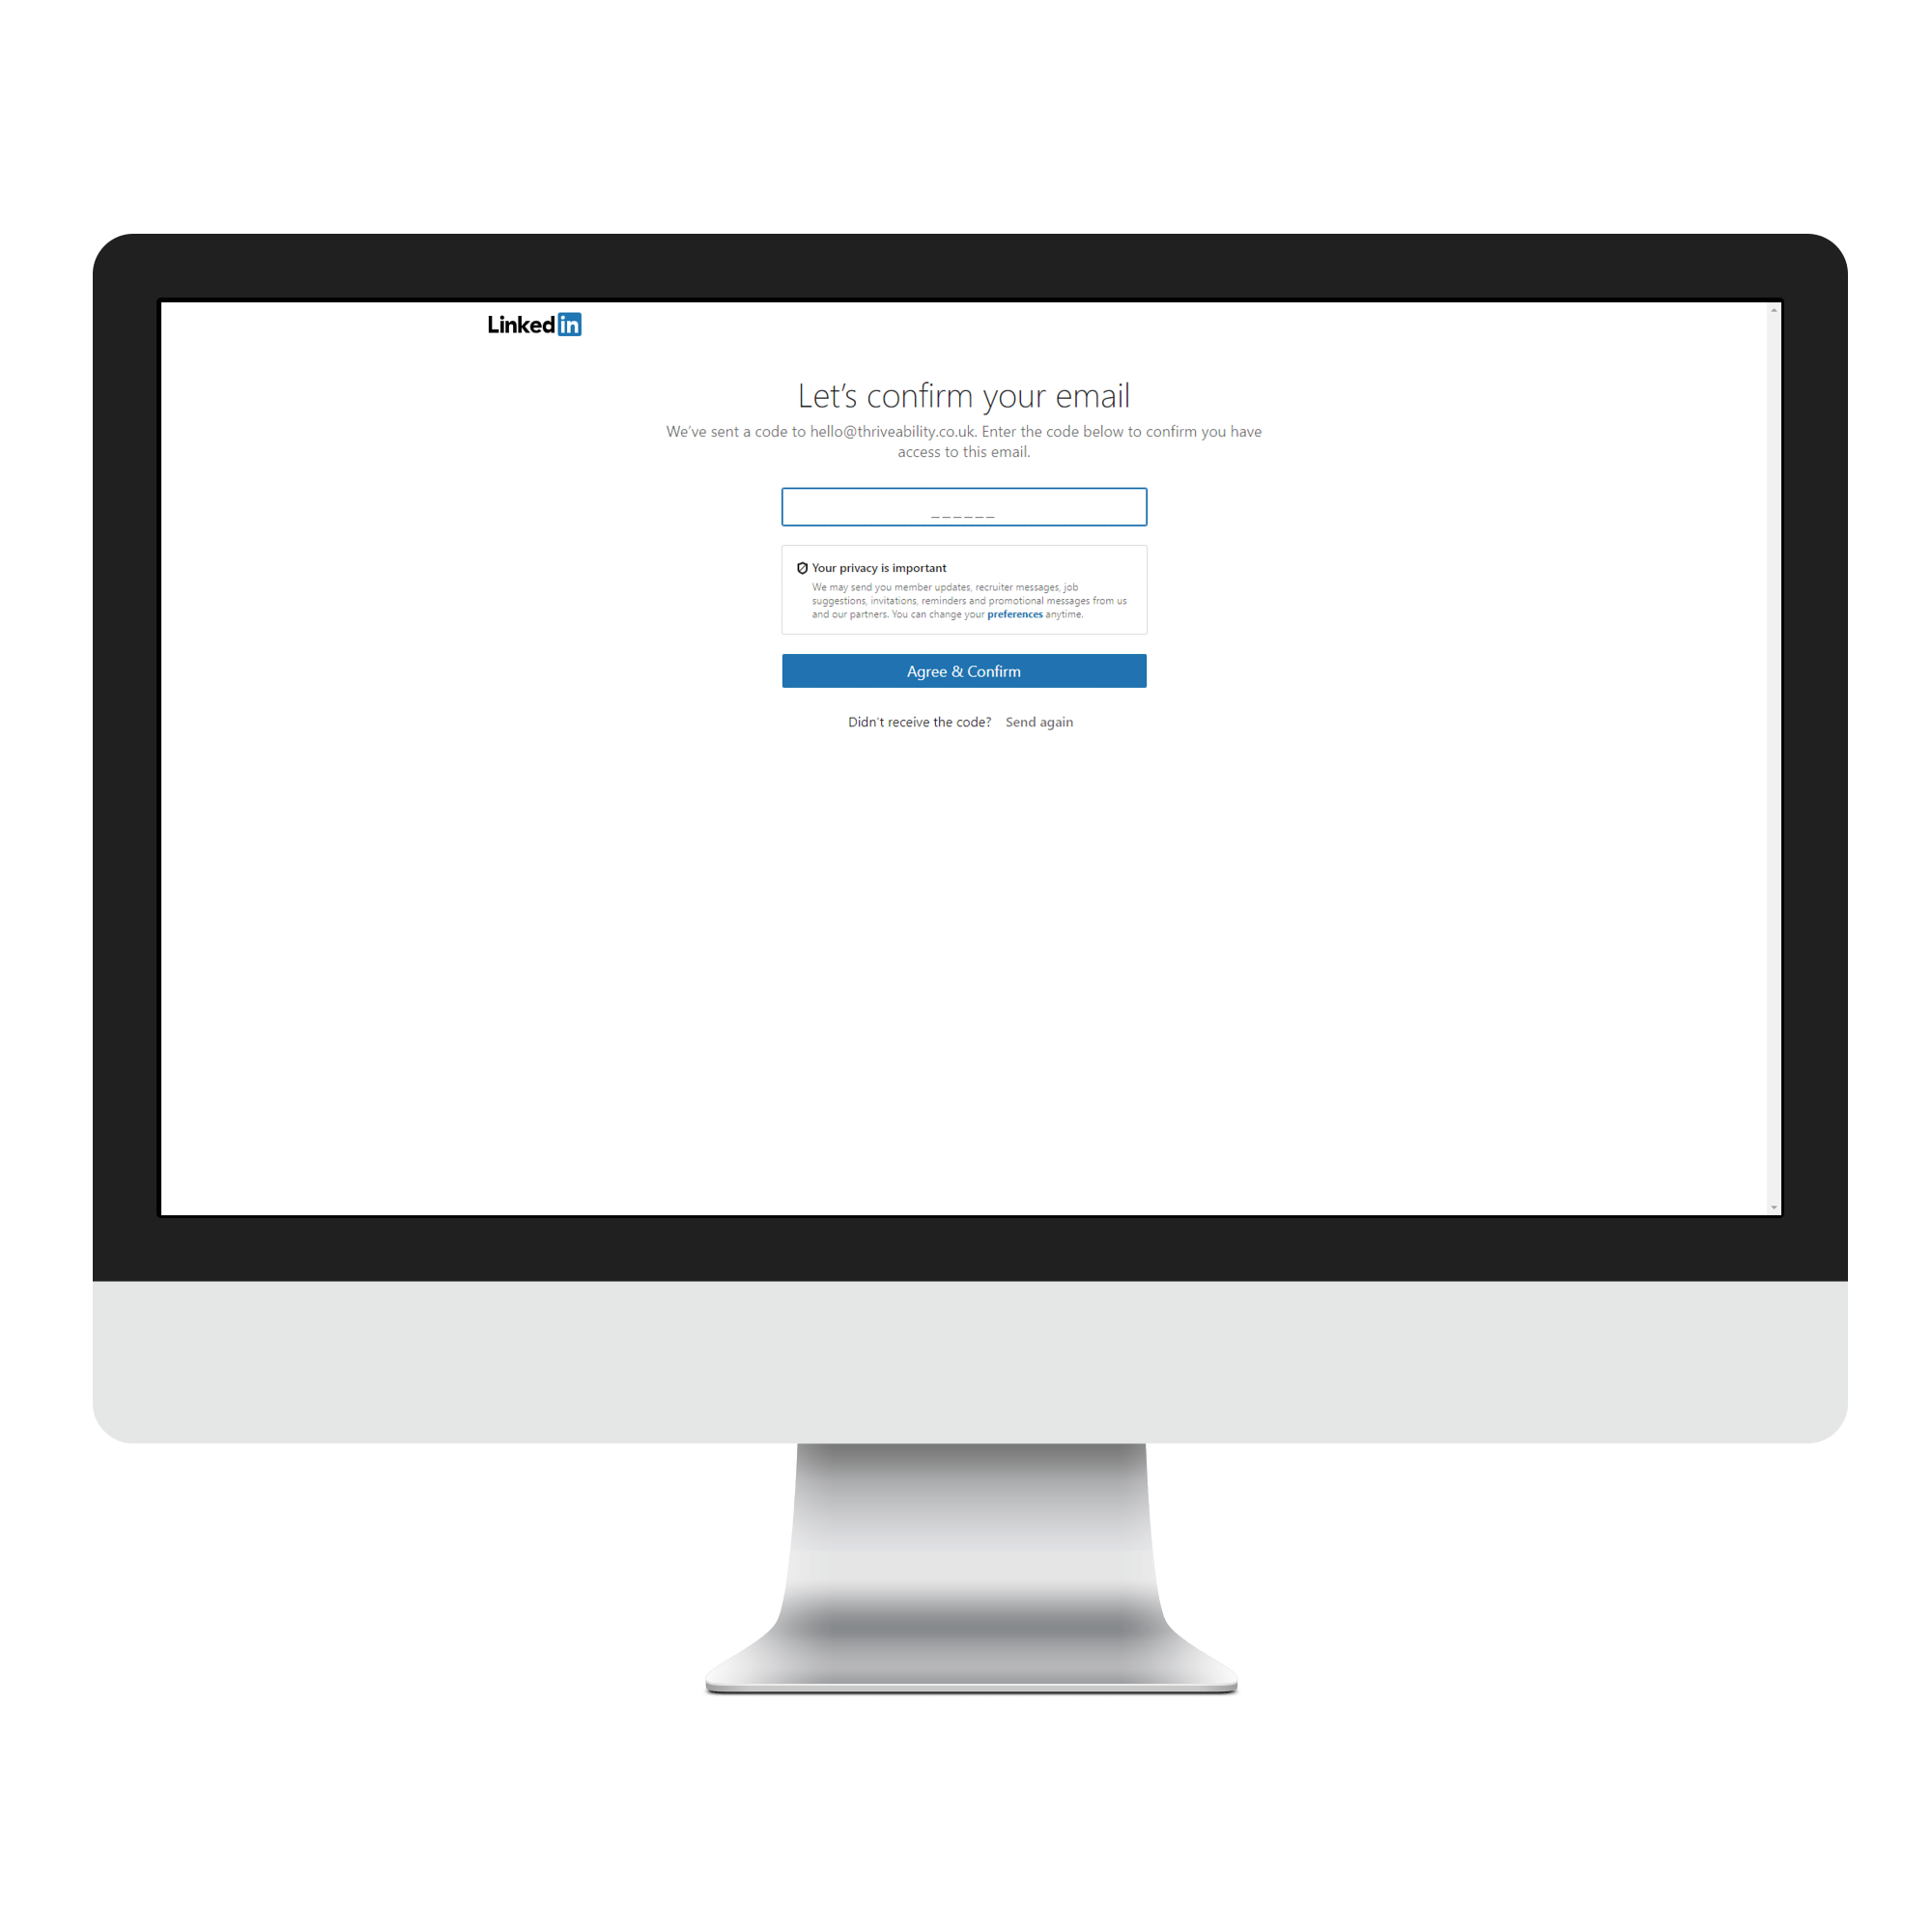
Confirm your email address by providing a 4-digit code.
Step 5: Who's already waiting for you?
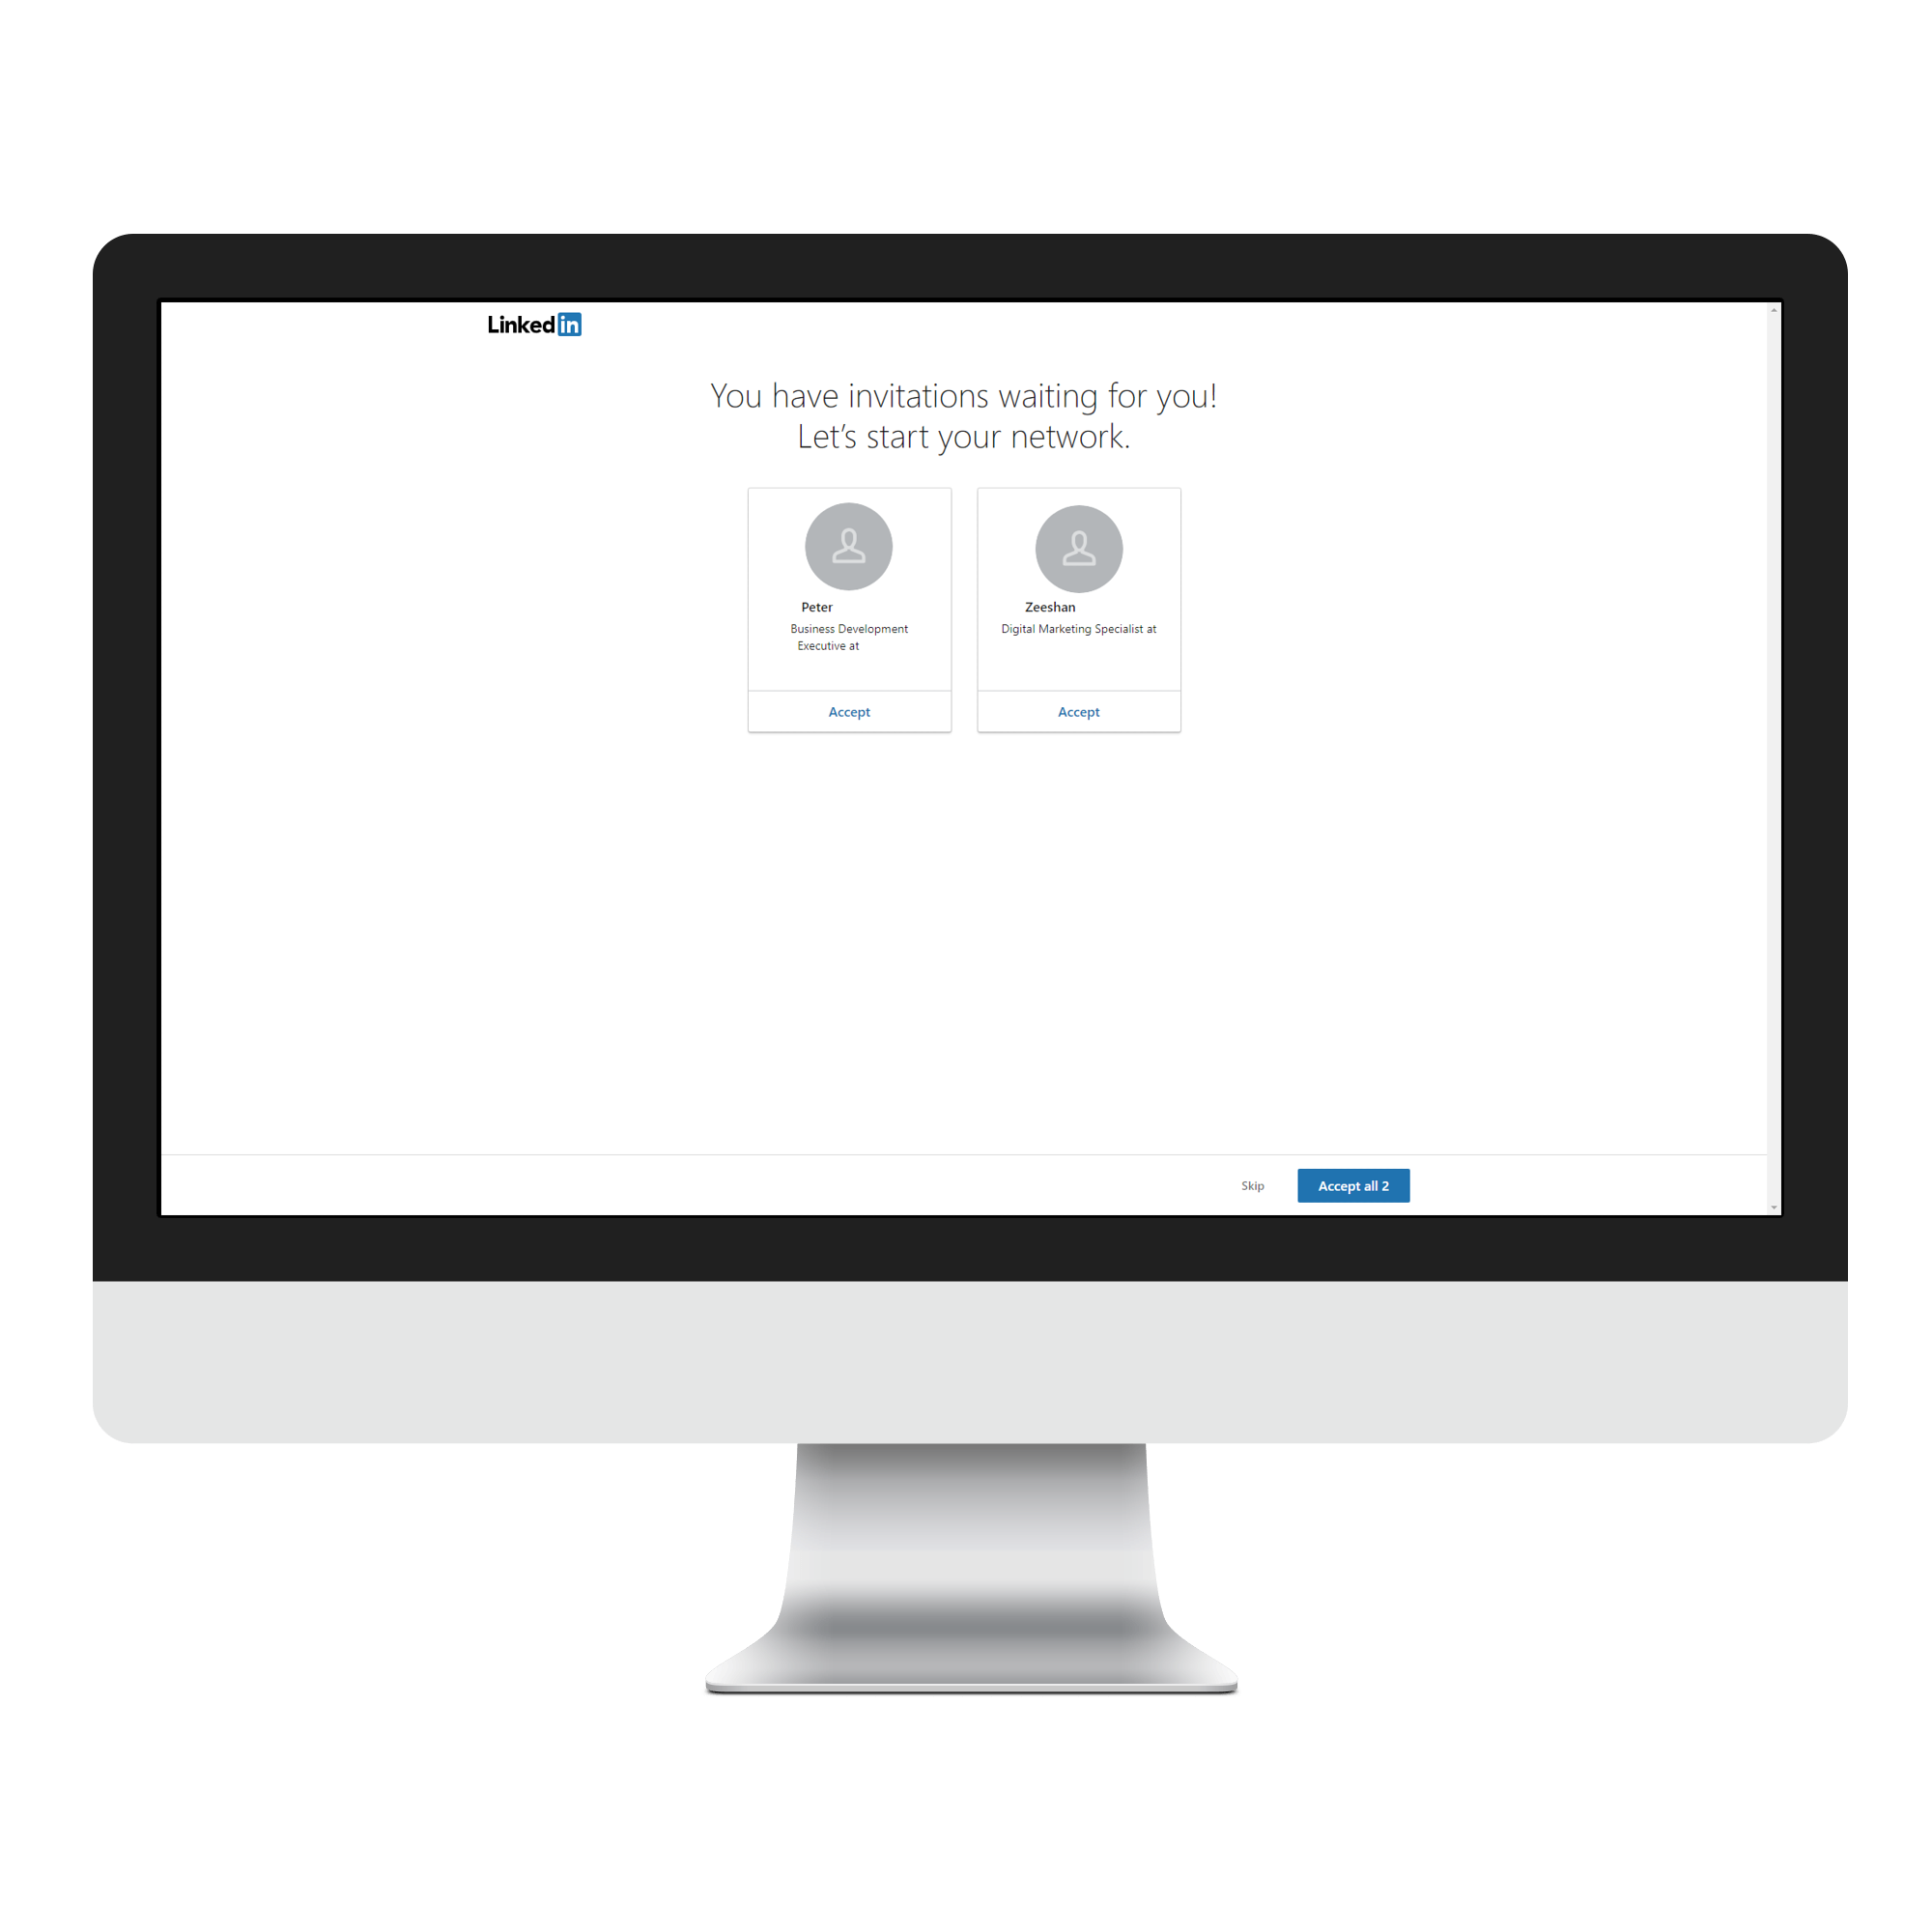
You may already have some invitations from people waiting to connect with you. 'Skip' or accept these if you wish.
Step 6: Connect with your email contacts
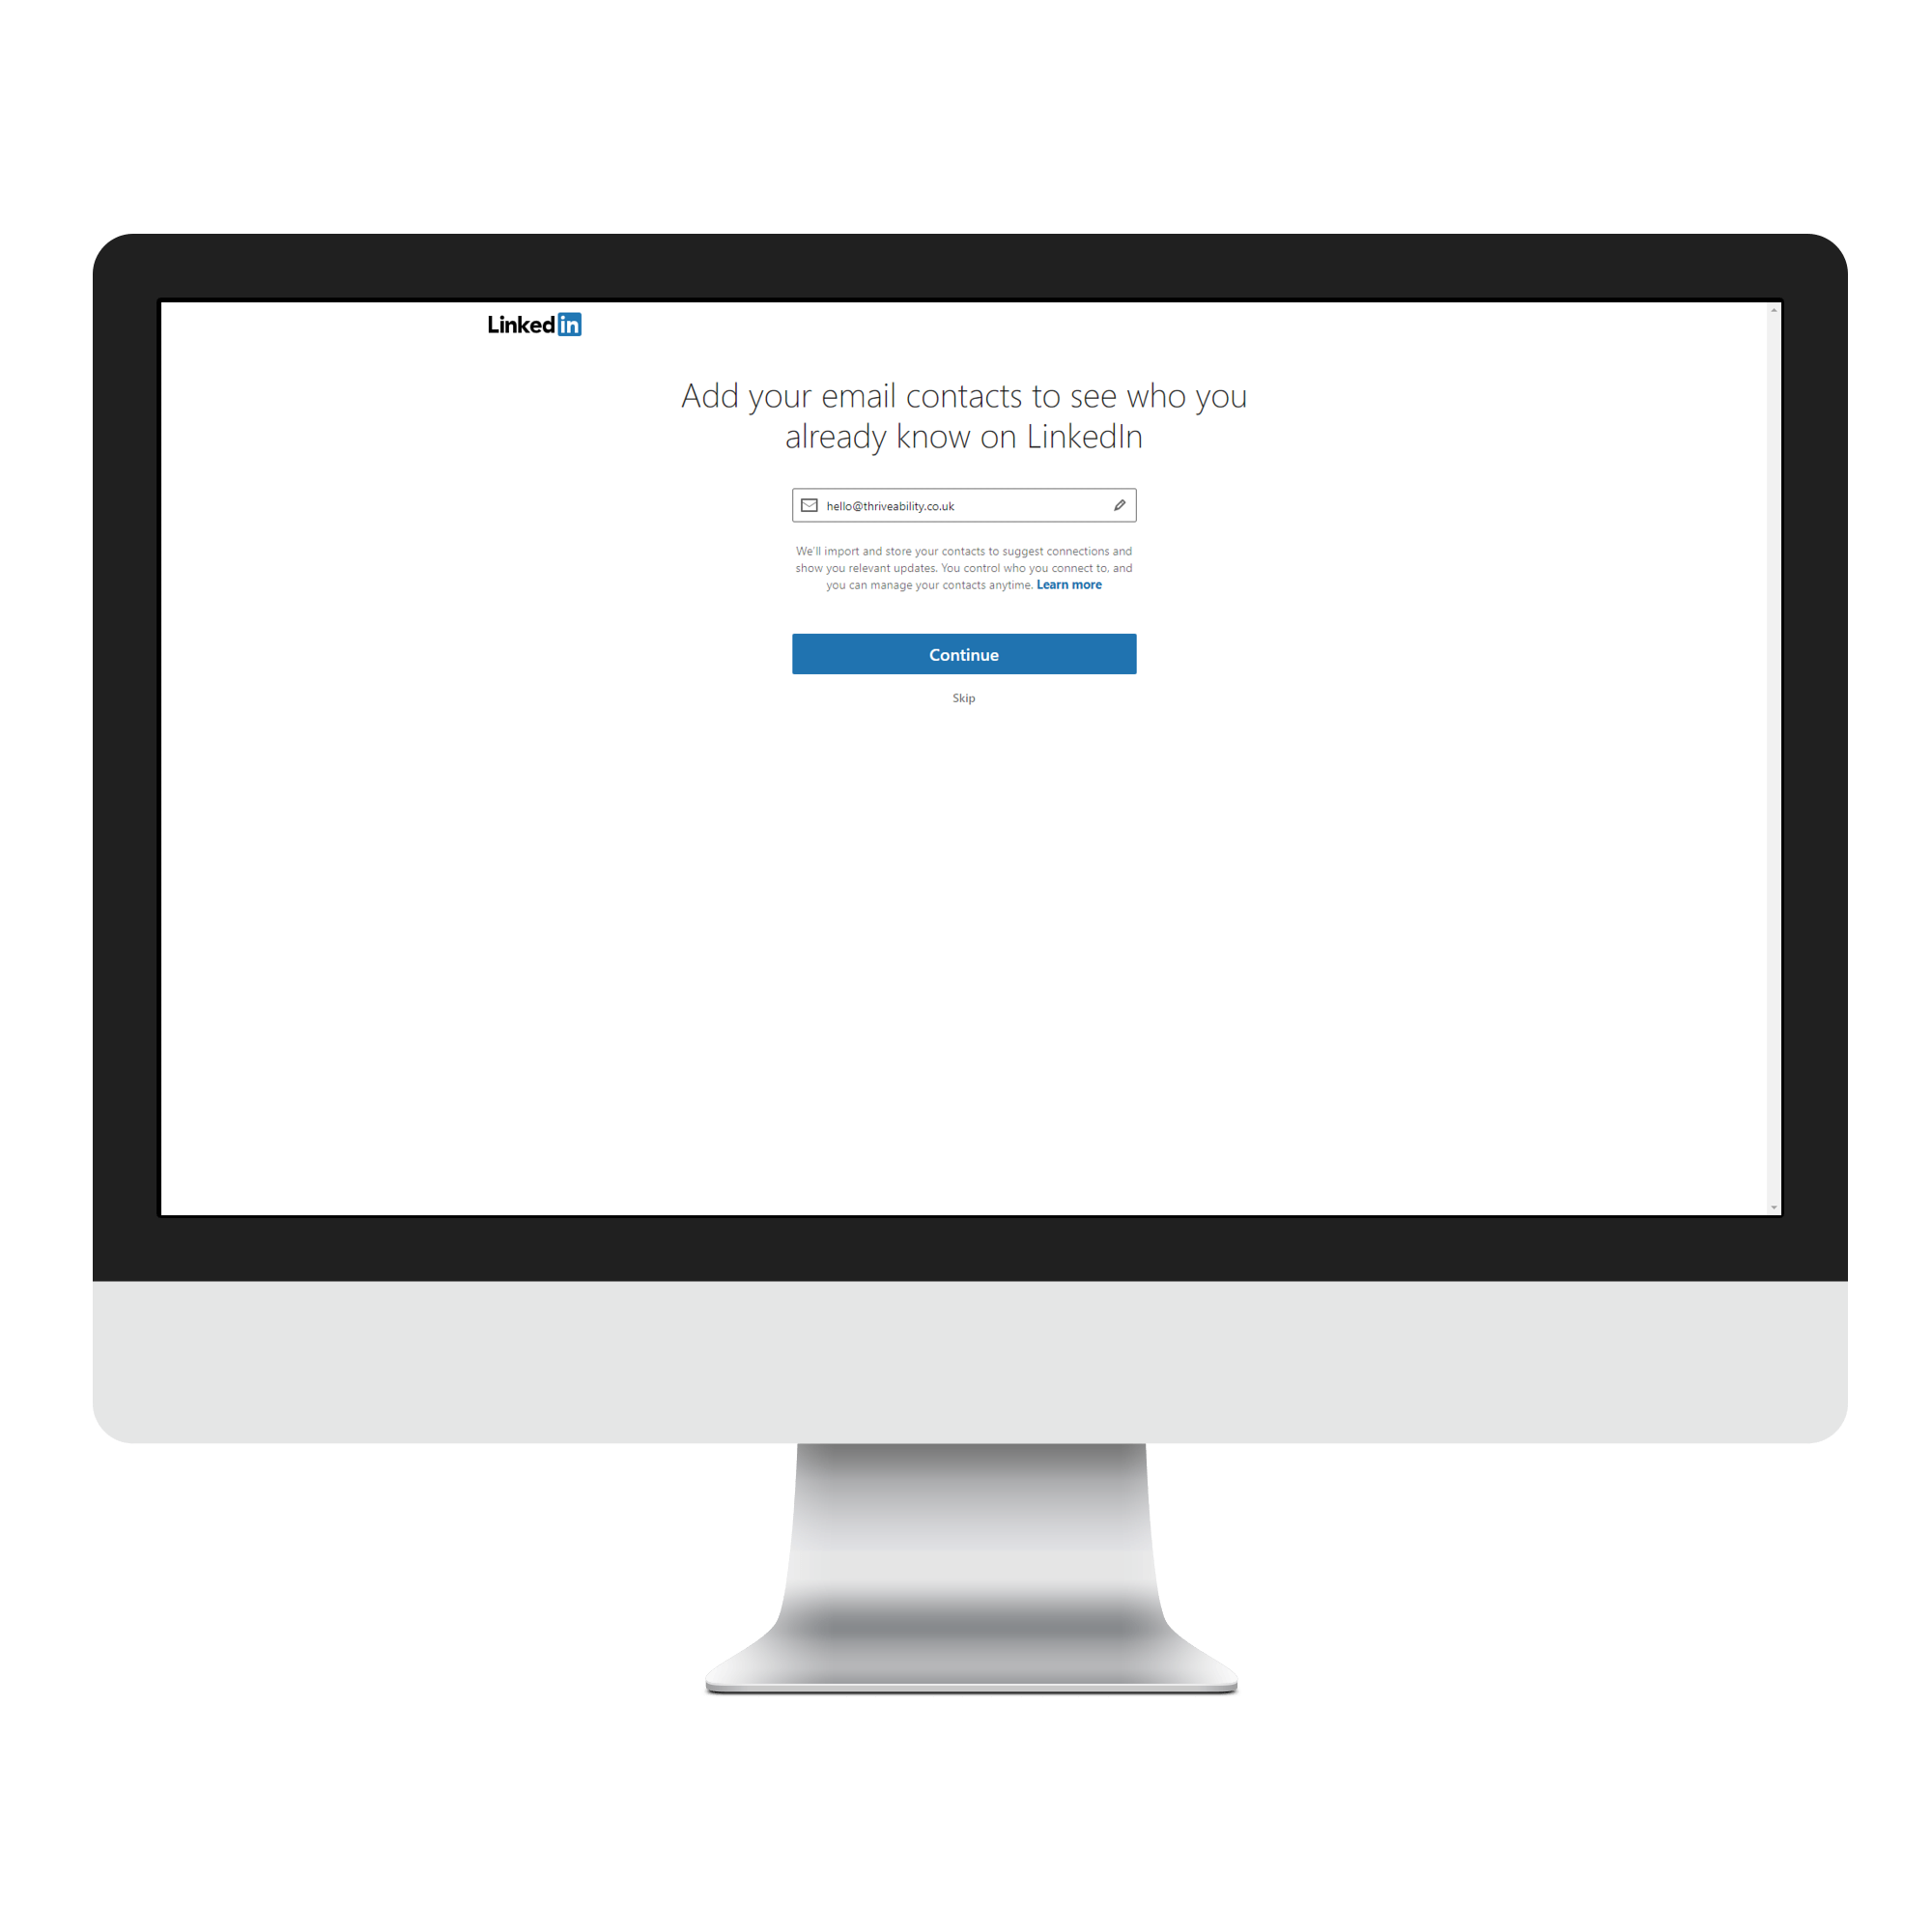
Best suited to those using a work email address, you can scan your email contacts for those that may be on LinkedIn. 'Skip' if you prefer.
Step 7: Connect with your team
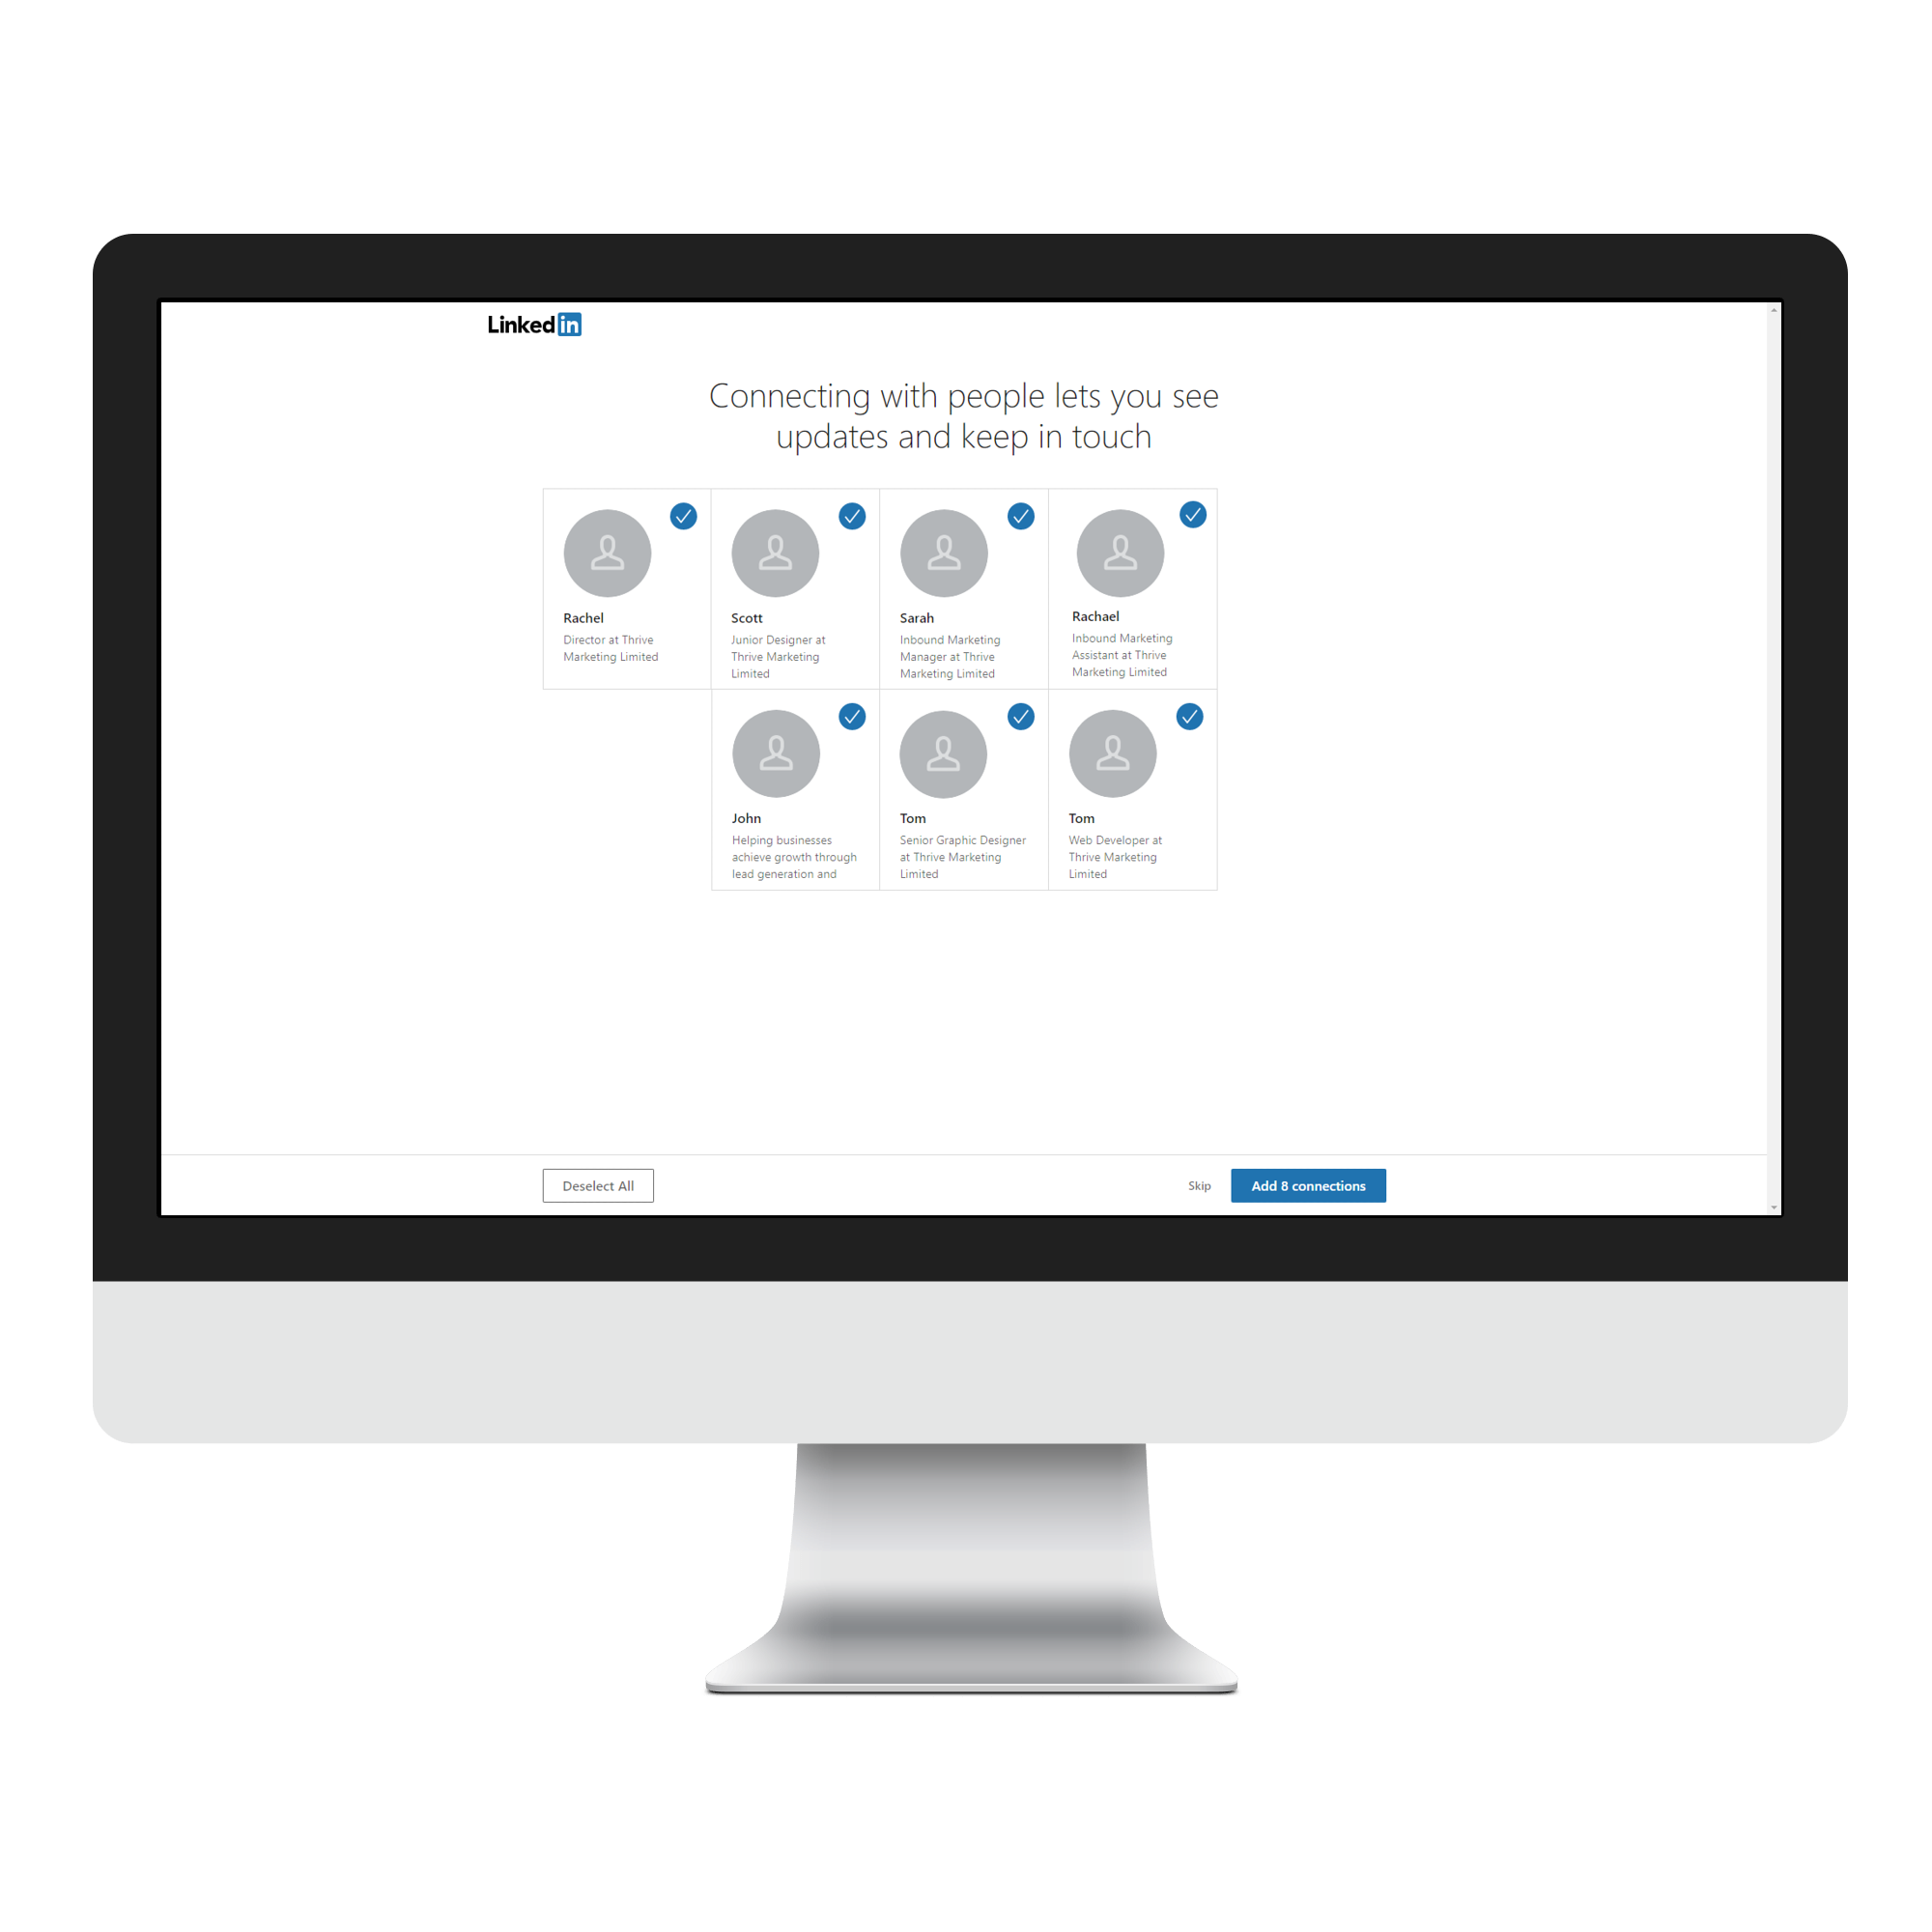
If you filled in a 'Most recent company' in step #3, you can now connect with your coworkers/employees. 'Skip' if you prefer.
Step 8: Add a photo
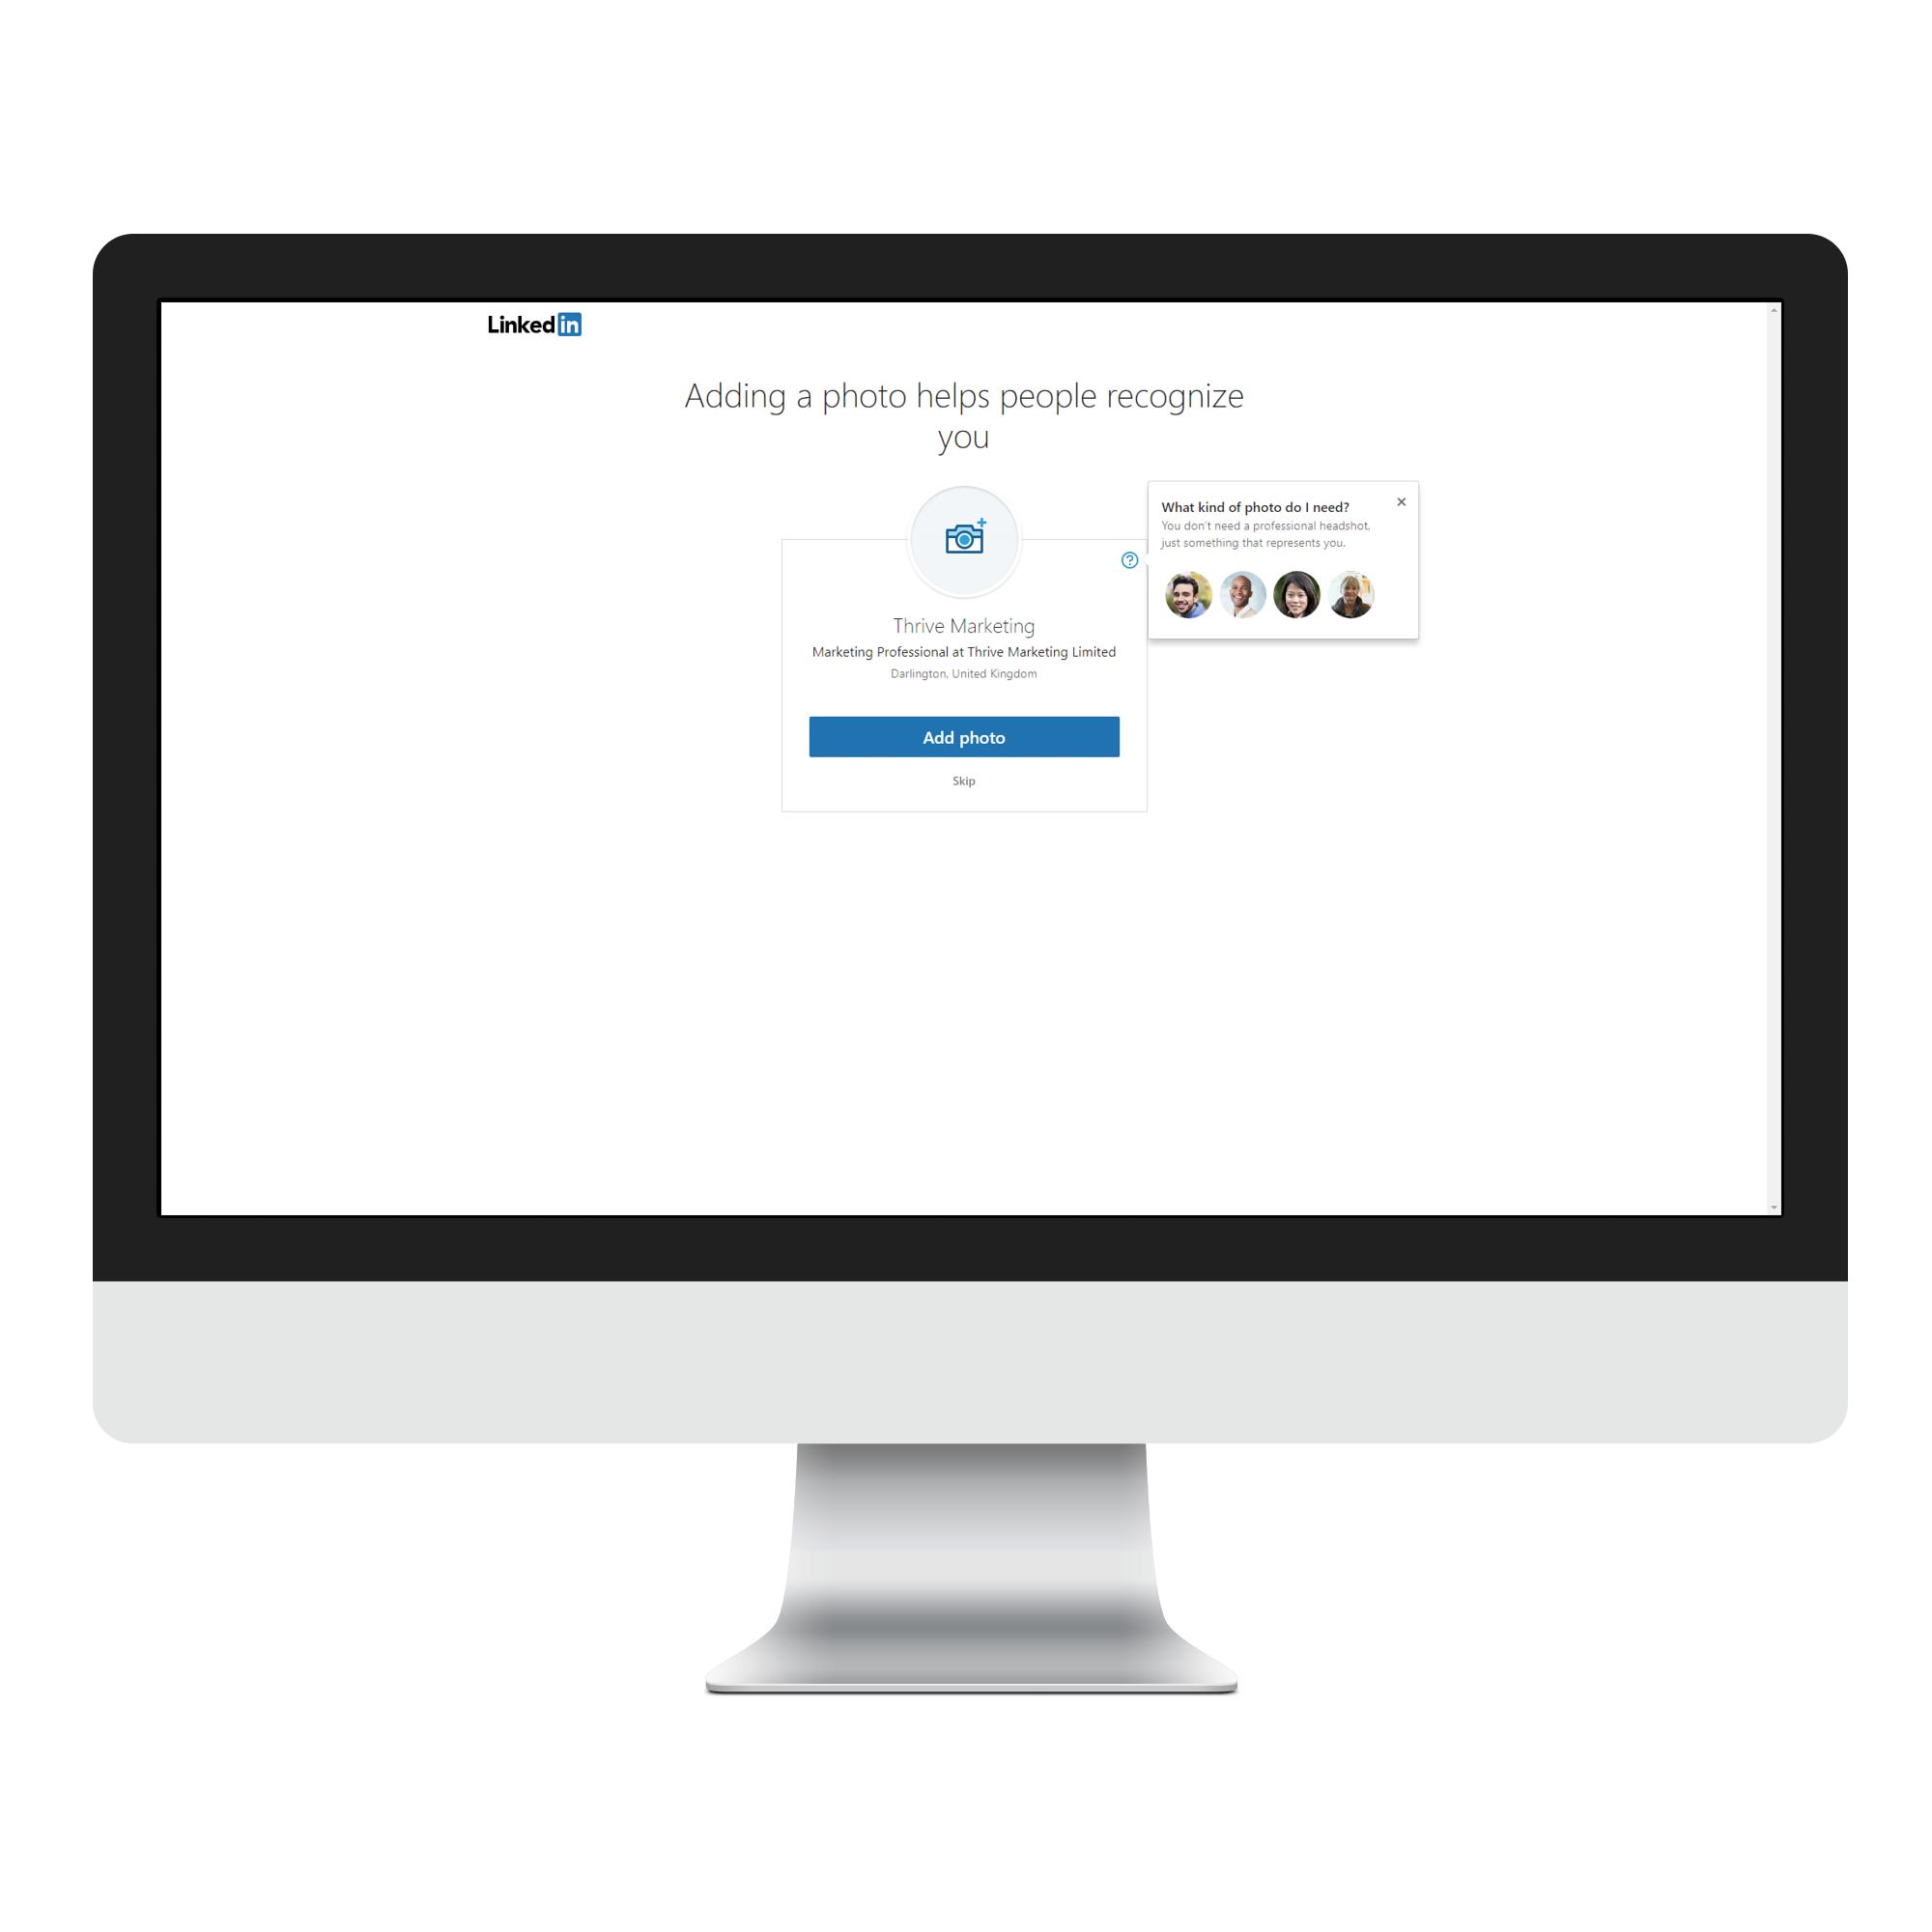
There are lots of best practices for LinkedIn photos. Although a professional headshot is best practice, you should opt for a recognisable, clear photo that doesn't appear unprofessional (drunk) or inappropriate (rude t-shirt). 'Skip' if you prefer.
Step 9: Get the app
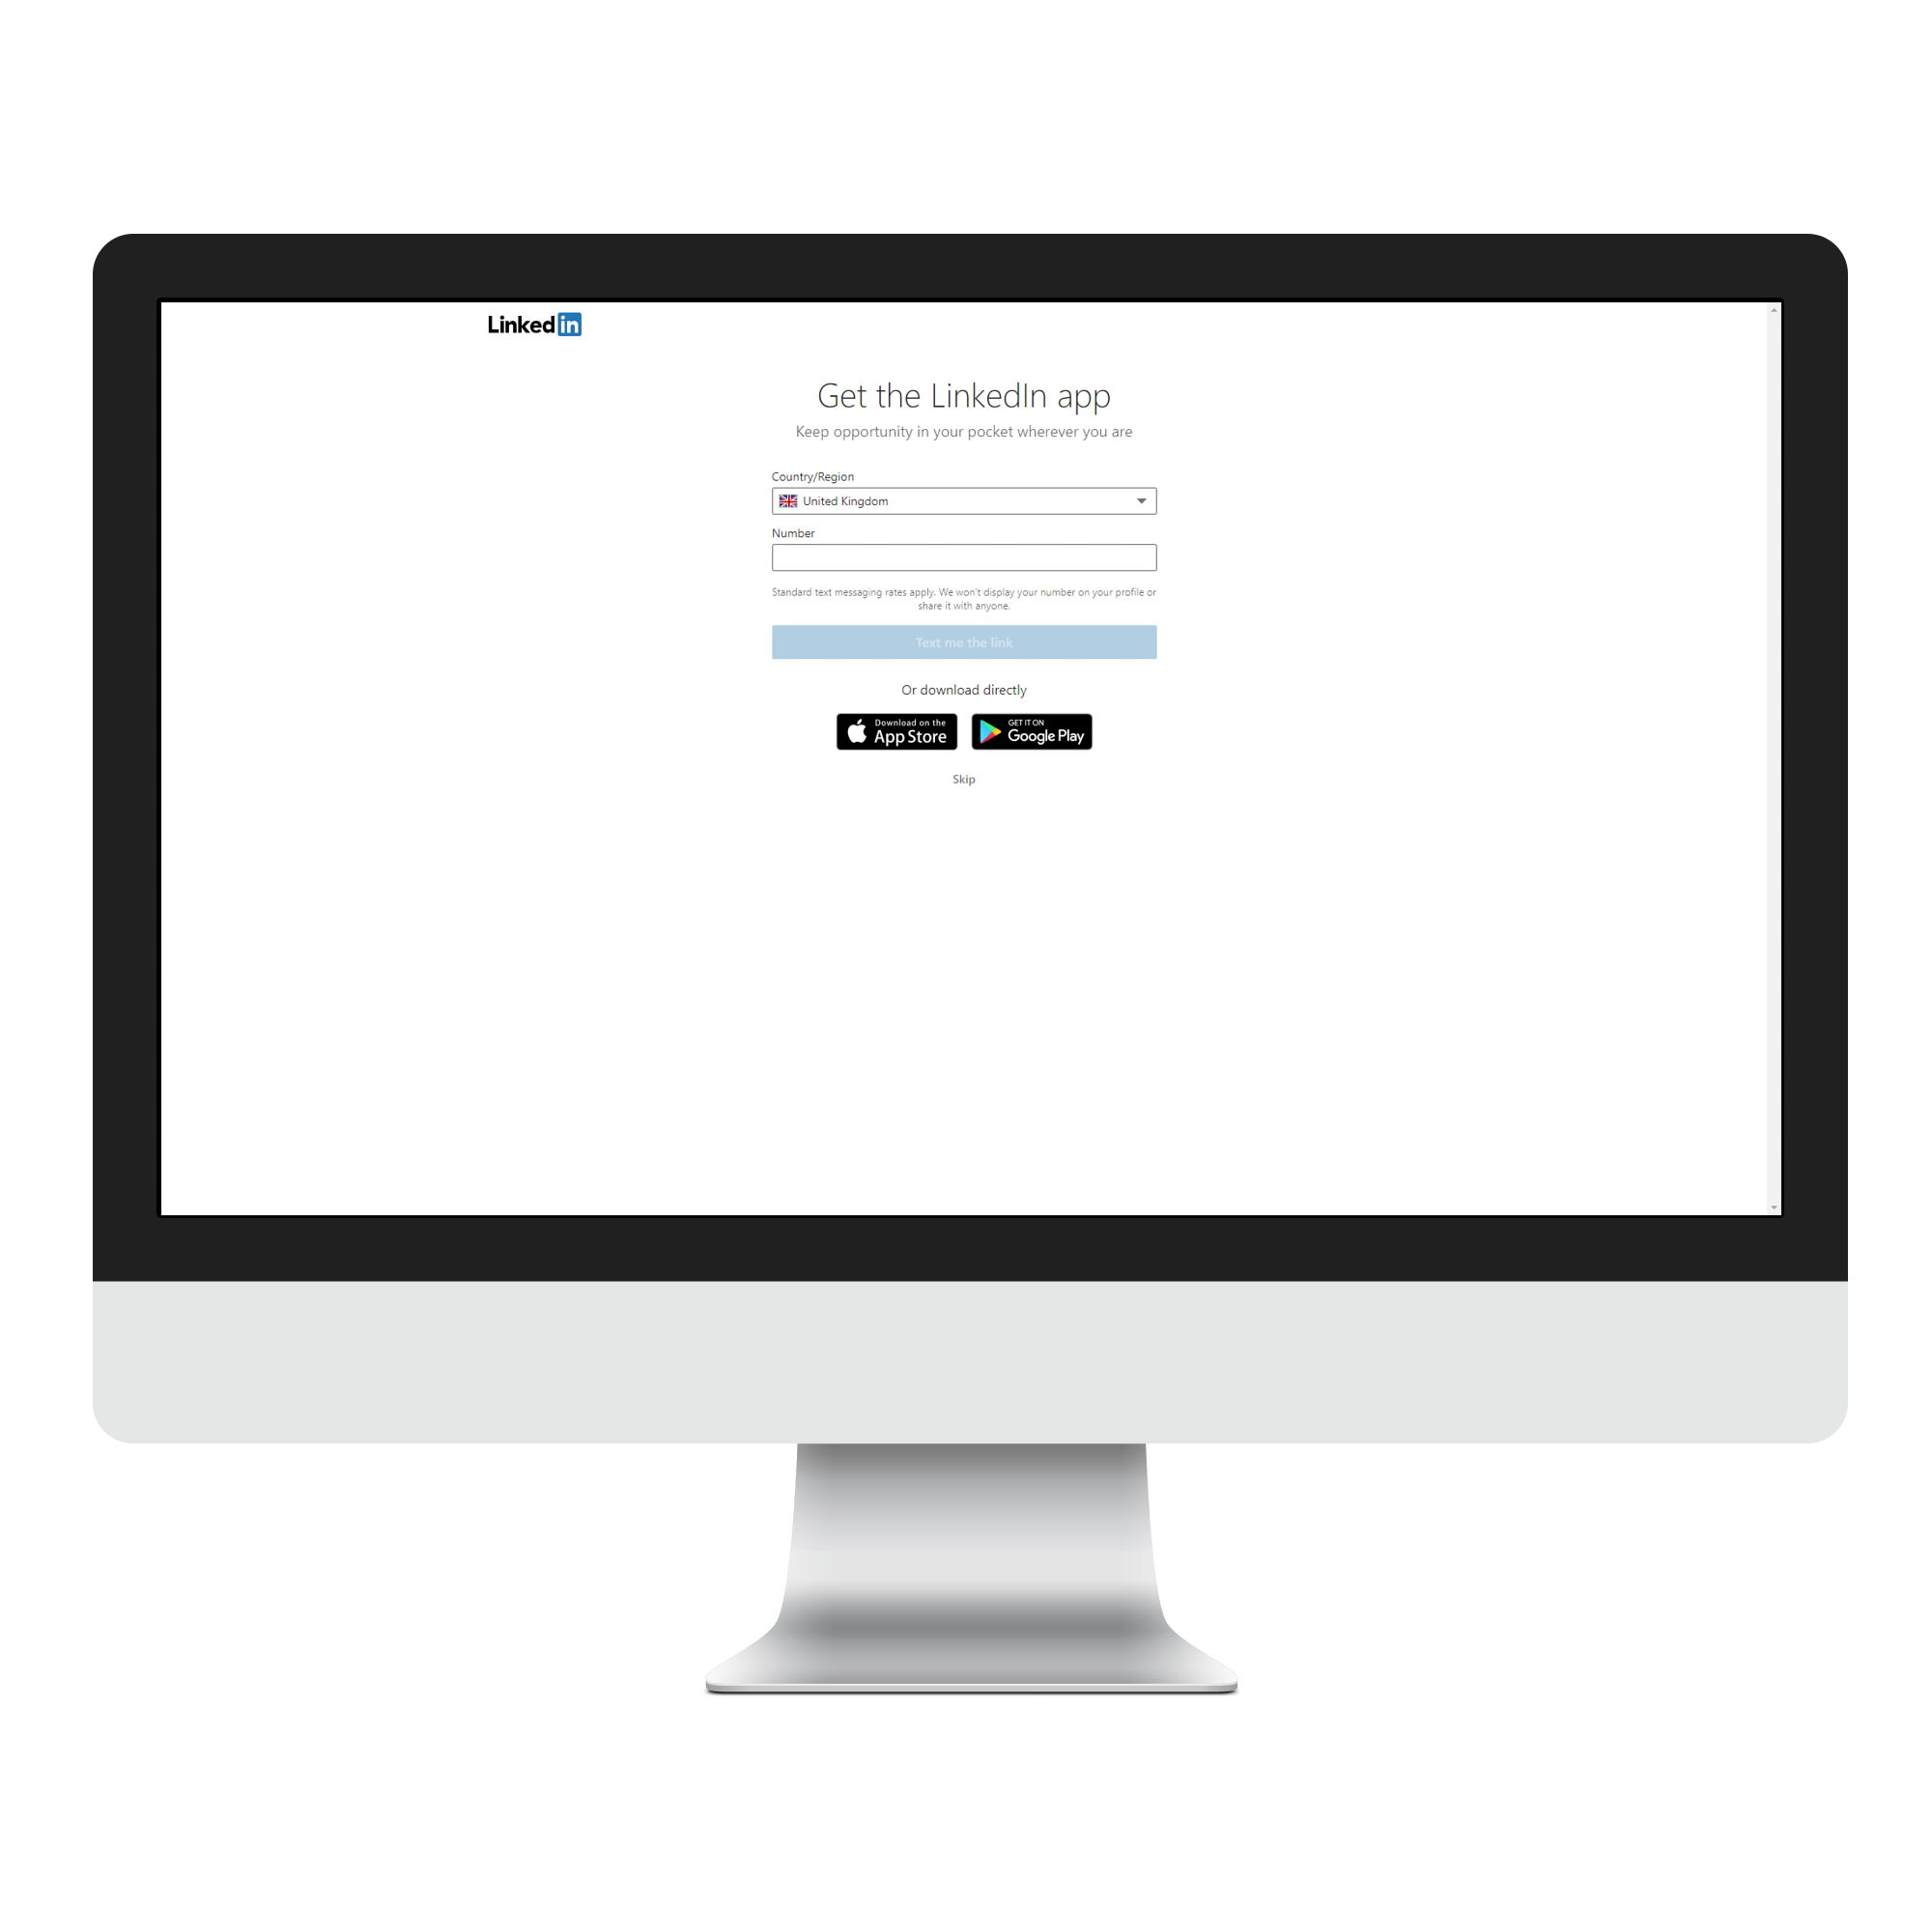
If you'd prefer to access LinkedIn on the go, rather than via desktop it may be worthwhile to provide your mobile number so you can get a link to the app. Or access it via your usual App/Play store. 'Skip' if you prefer.
Your news feed
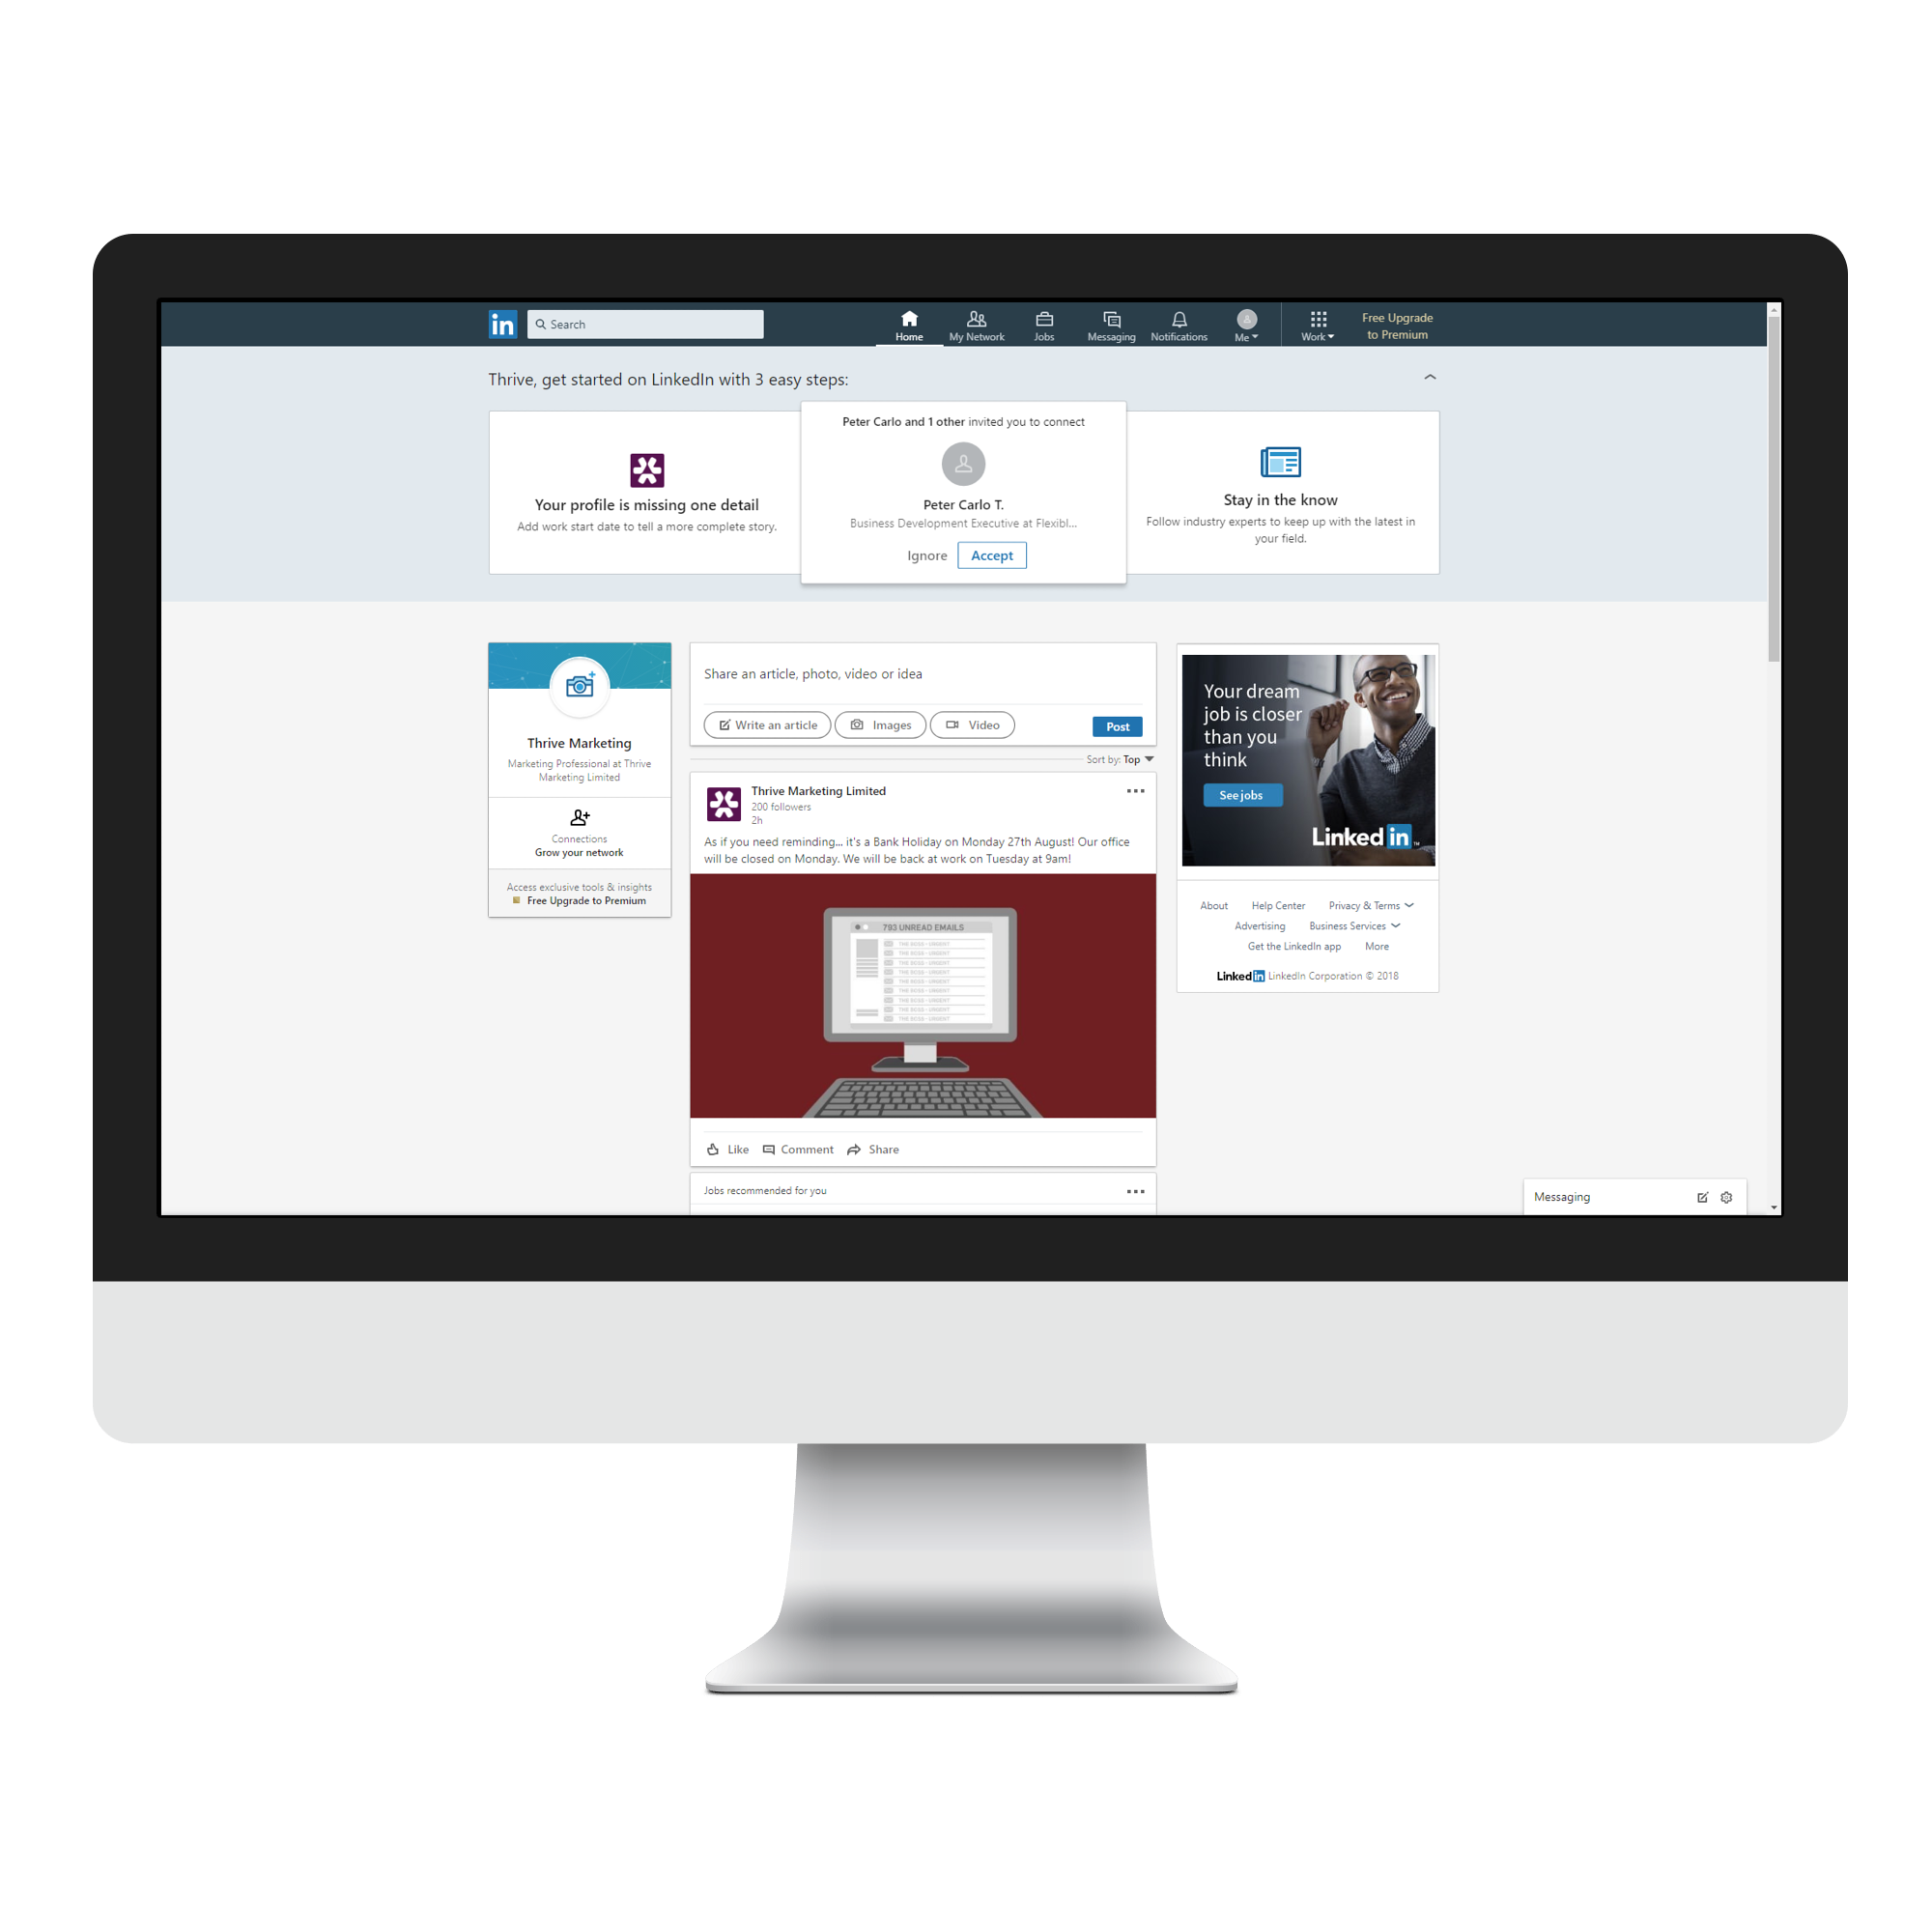
Here you will find updates from the people, groups and companies you will eventually connect with and follow. Keep engaging with messages and posts that are relevant to you, your organisation or audience. You will also be able to congratulate people on work anniversaries or comment on their posts, to keep an active profile.
Your profile
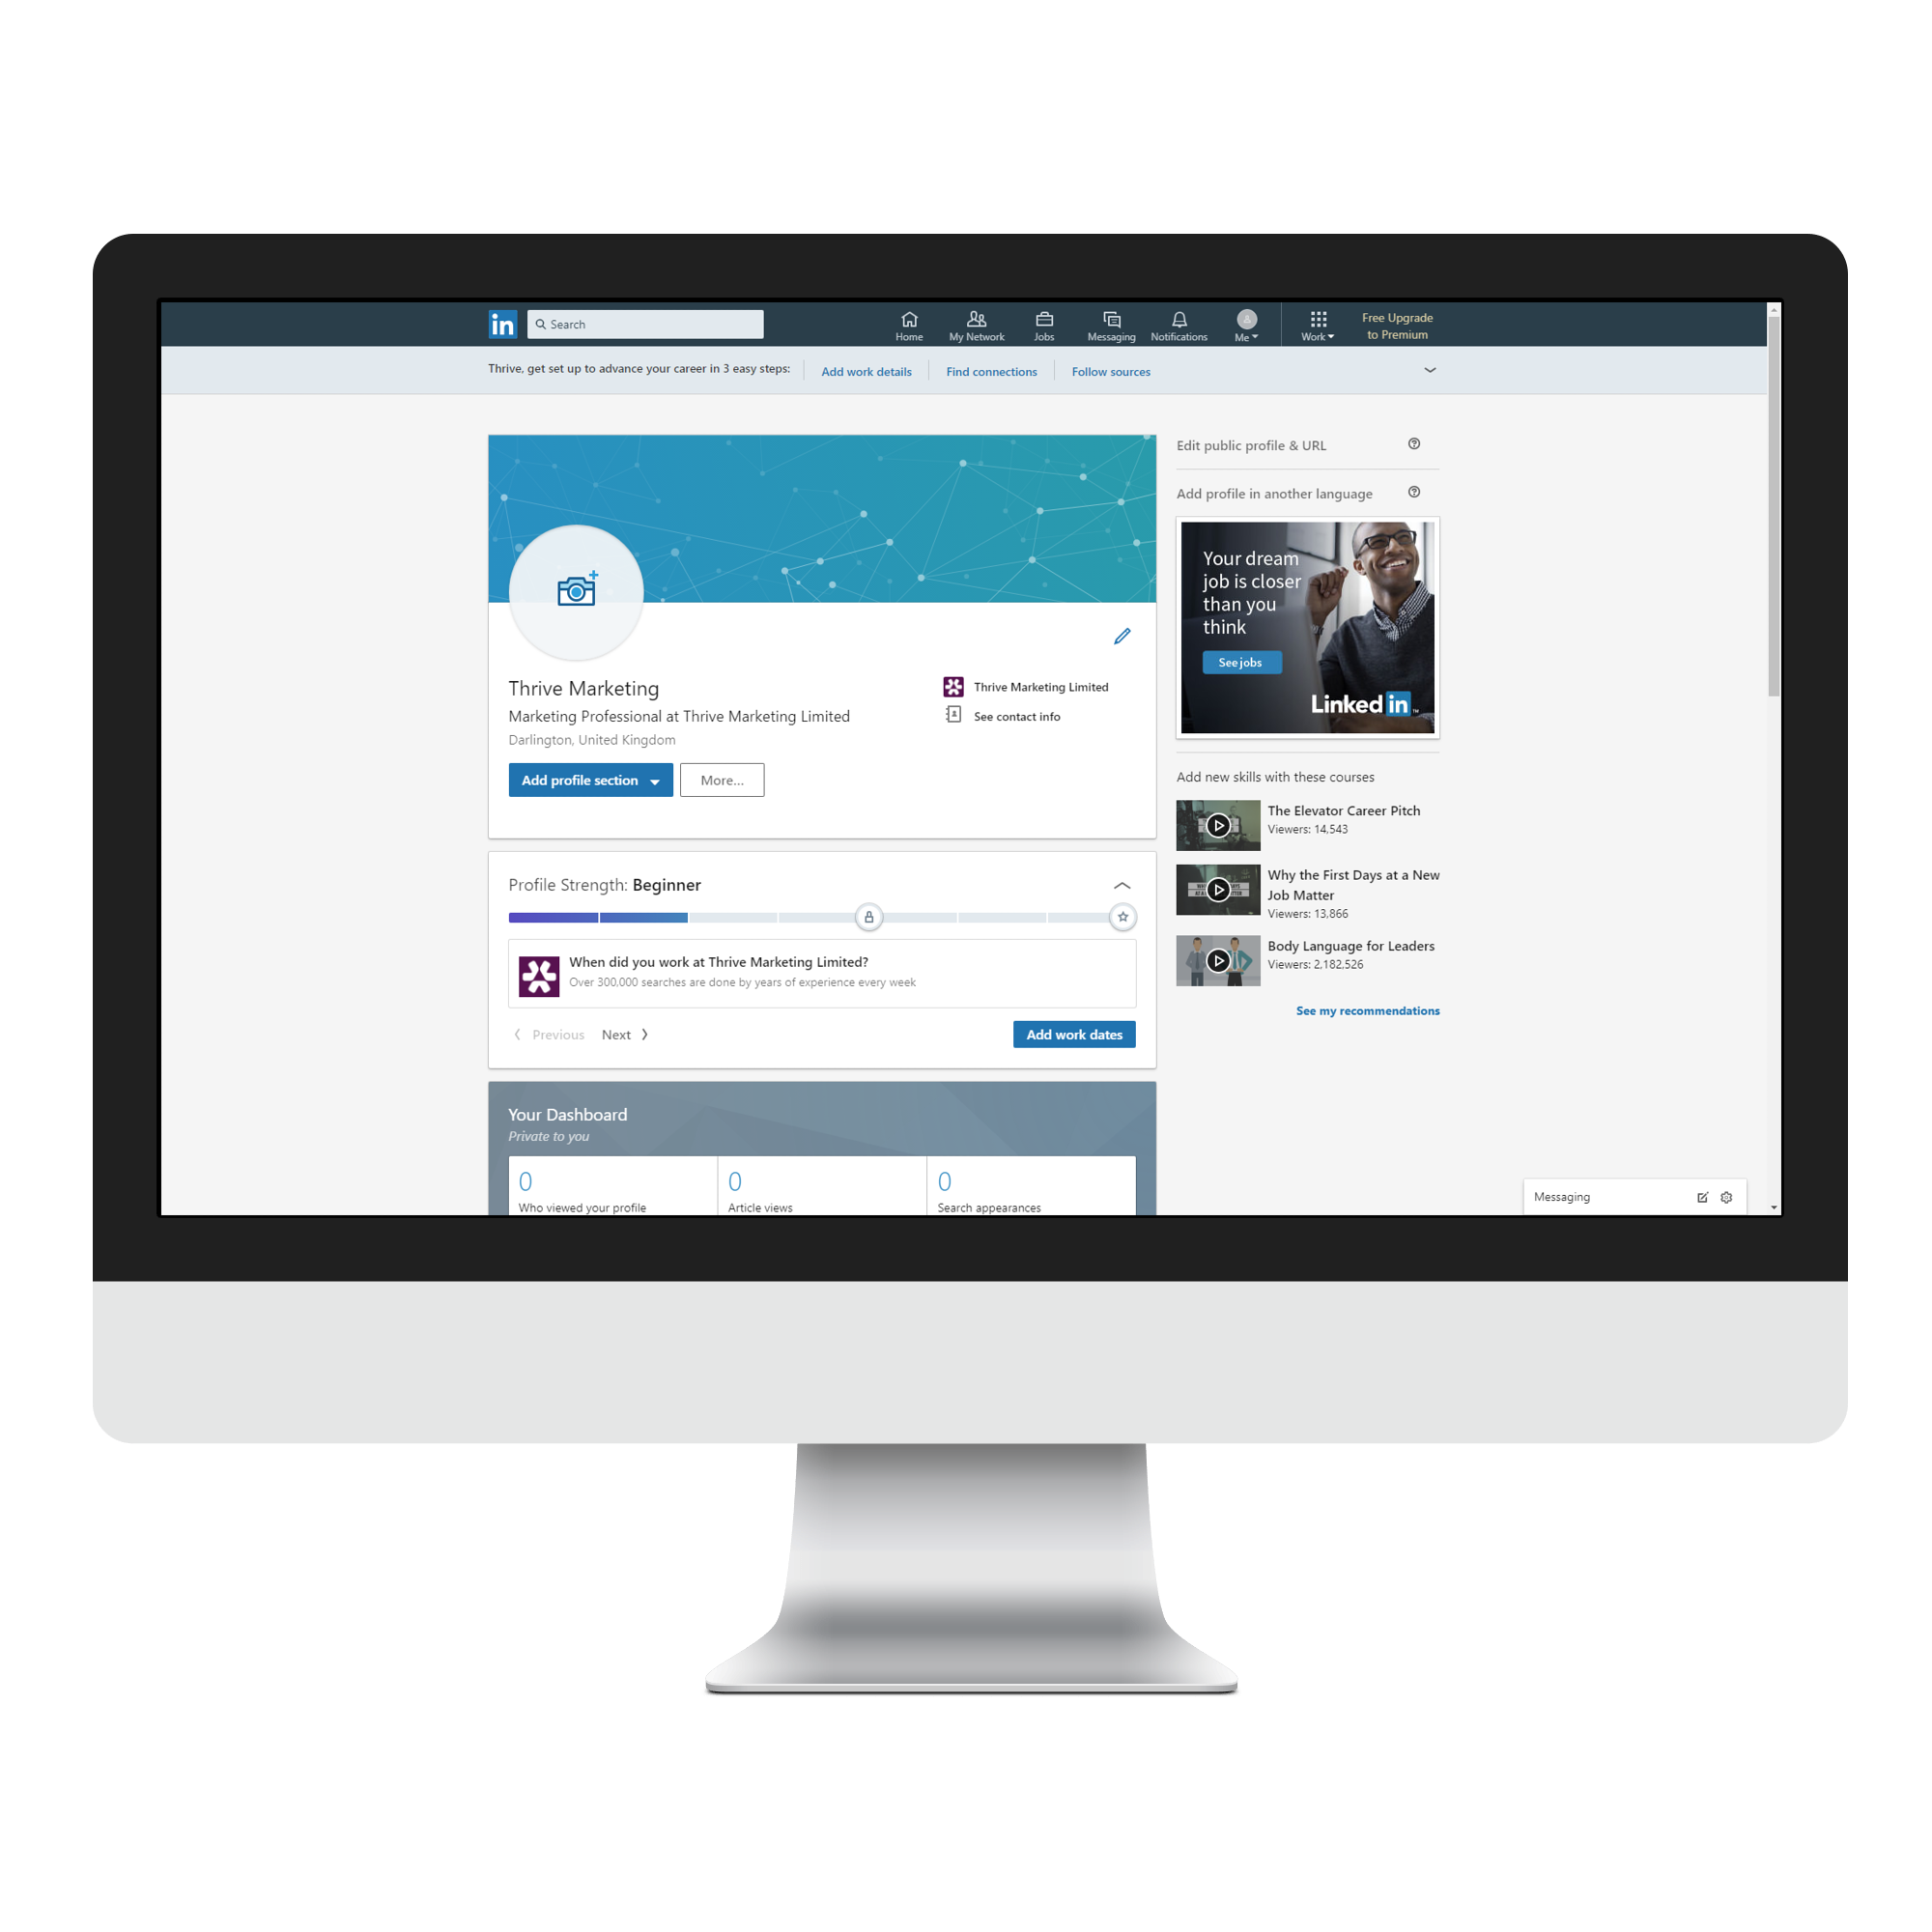
This is where you share your amazing updates! It's best practice to keep this platform strictly professional and business-relevant. Share your own updates about your own professional development, your opinion on news affecting your business/industry or PR/news articles/blog posts from your company.
You can personalise this with your profile photo if you skipped this during set up, and a header cover if you prefer, although it isn't required.
There are many suggestions and a step-by-step process, as you can see below, that will help you to build out your profile. It's best to view your LinkedIn profile as though it's a CV with your current and former work and education details, as well as any awards or certifications, plus a brief bio based on your professional career to date.