Lack of website traffic? It can be difficult to get people to visit your website if you’re not consistently posting fresh content.
This is why businesses can benefit greatly by sharing curated content from relevant and reliable industry sources. Not only will you increase your own knowledge but you will establish credibility in the eyes of your audience with frequent, and interesting, social media posts.
However, it’s not all sunshine and rainbows. One major flaw of curated content is that you’re driving traffic to other business’ websites and most importantly, away from your company.
If only there was a tool that could direct people back to your website…

It’s time to introduce the answer to your prayers, Sniply! This handy tool allows you to add custom messages to any website page which will link back to your own site.
In Sniply’s own words, the tool “doesn't actually alter the original page, so you're not actually making any changes to the web page itself! It creates a special link where the original page is loaded in the background and your message is loaded on top of it.”
How to Set up Sniply
Step 1
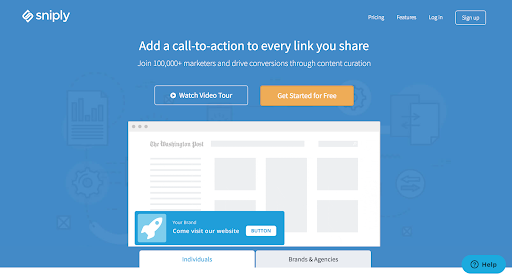
Visit Sniply’s homepage where you can watch a video tour of the tool or simply choose to ‘get started’.
Step 2
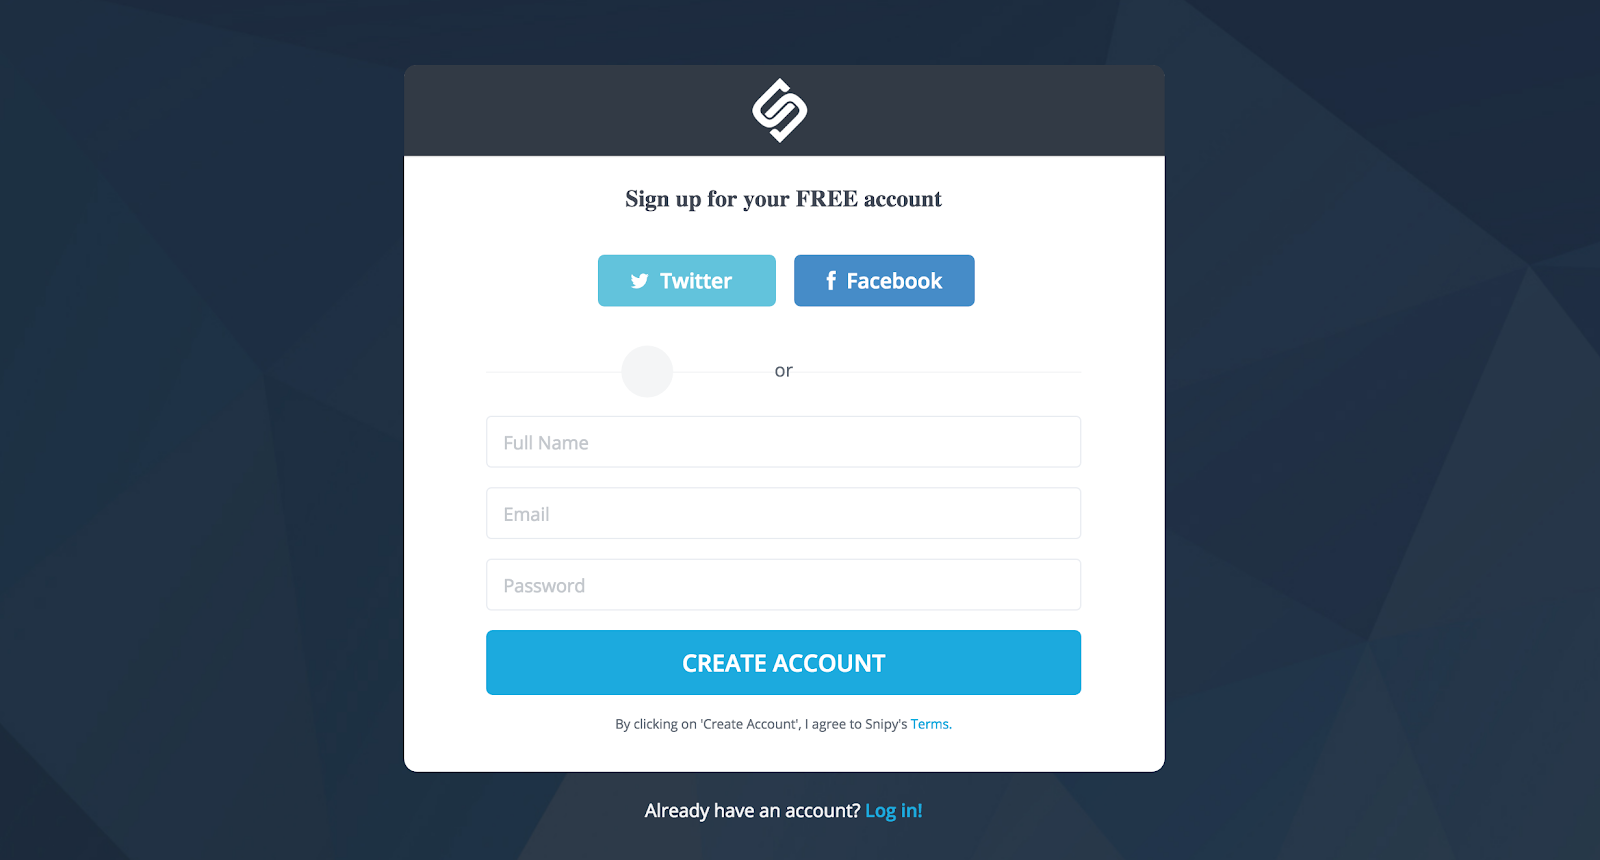
Once you have clicked ‘Get Started For Free’, you will need to sign up. Enter your email or use your Facebook or Twitter details to log in.
Step 3
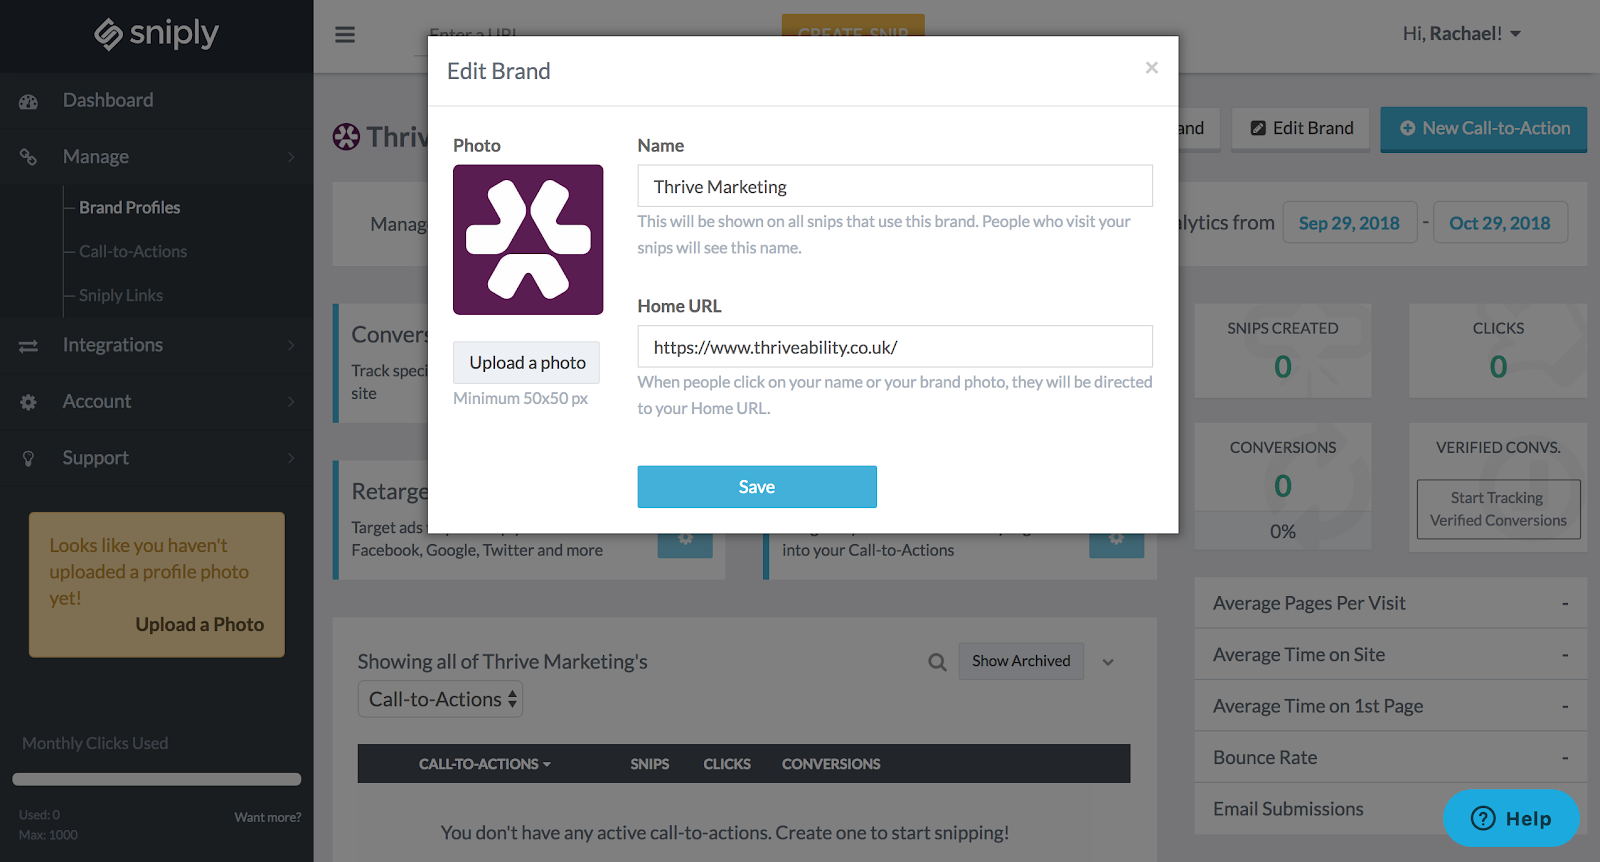
If you link your Sniply to a business account, then your brand profile will be automatically set up. However, if you use a personal email, you will need to select ‘Manage’, ‘Brand Profiles’ to create your main brand.
Click ‘Edit Brand’ and you will be asked for your business name, photo (your company logo) and the URL where you want people to be directed if they click on your name or photo.
Step 4
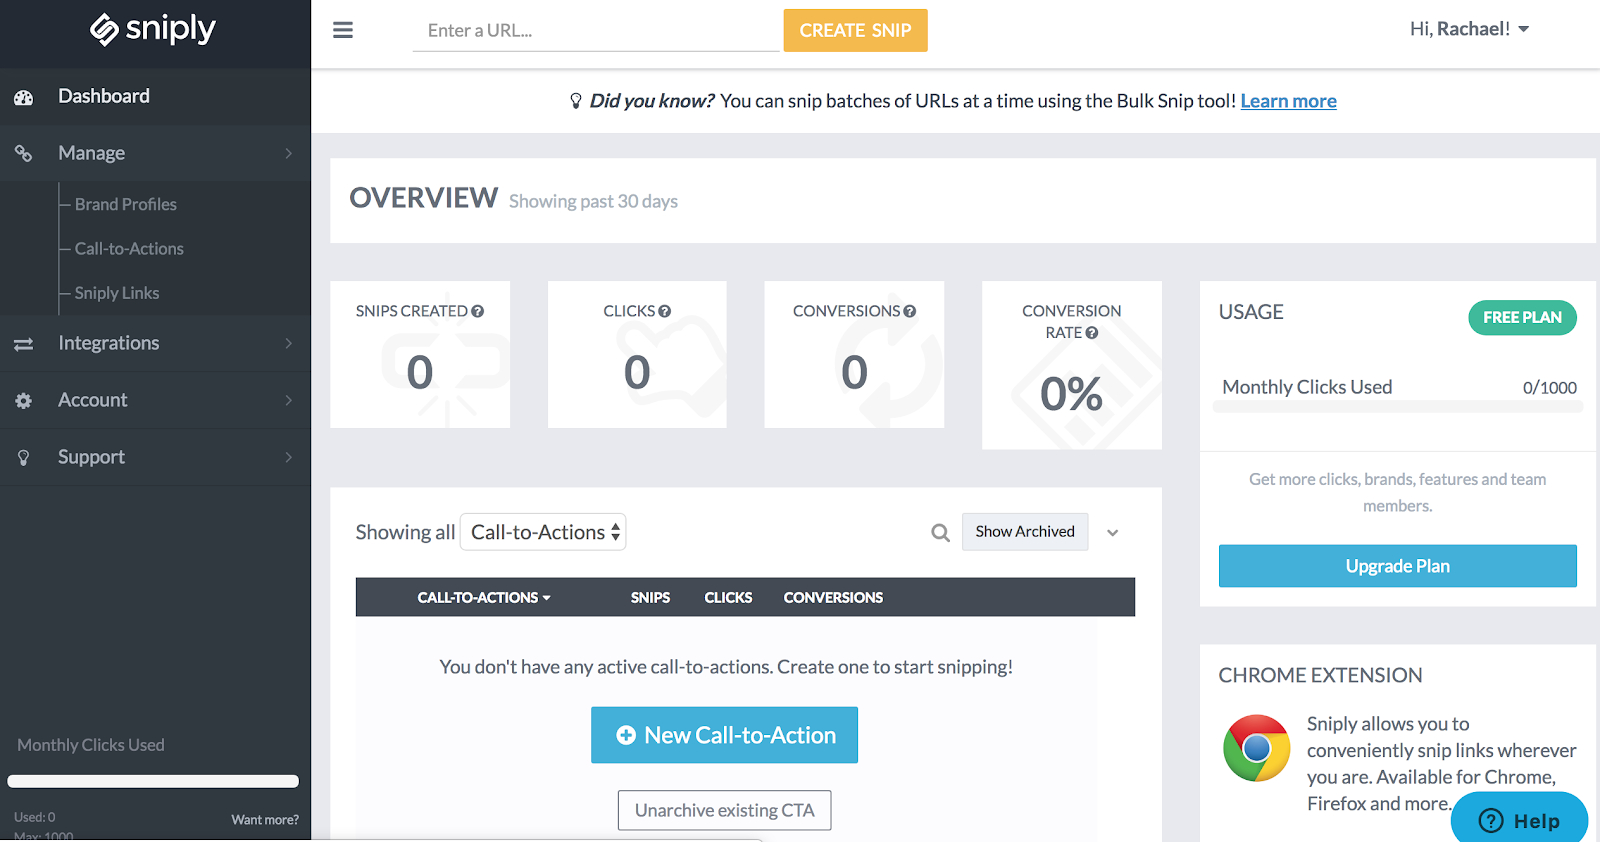
On any of the Sniply web pages, you can copy and paste the URL you want to share in the text box at the top and click ‘Create Snip’.
Step 5
You will then be directed to a preview of the Sniply message so you can edit your CTA.
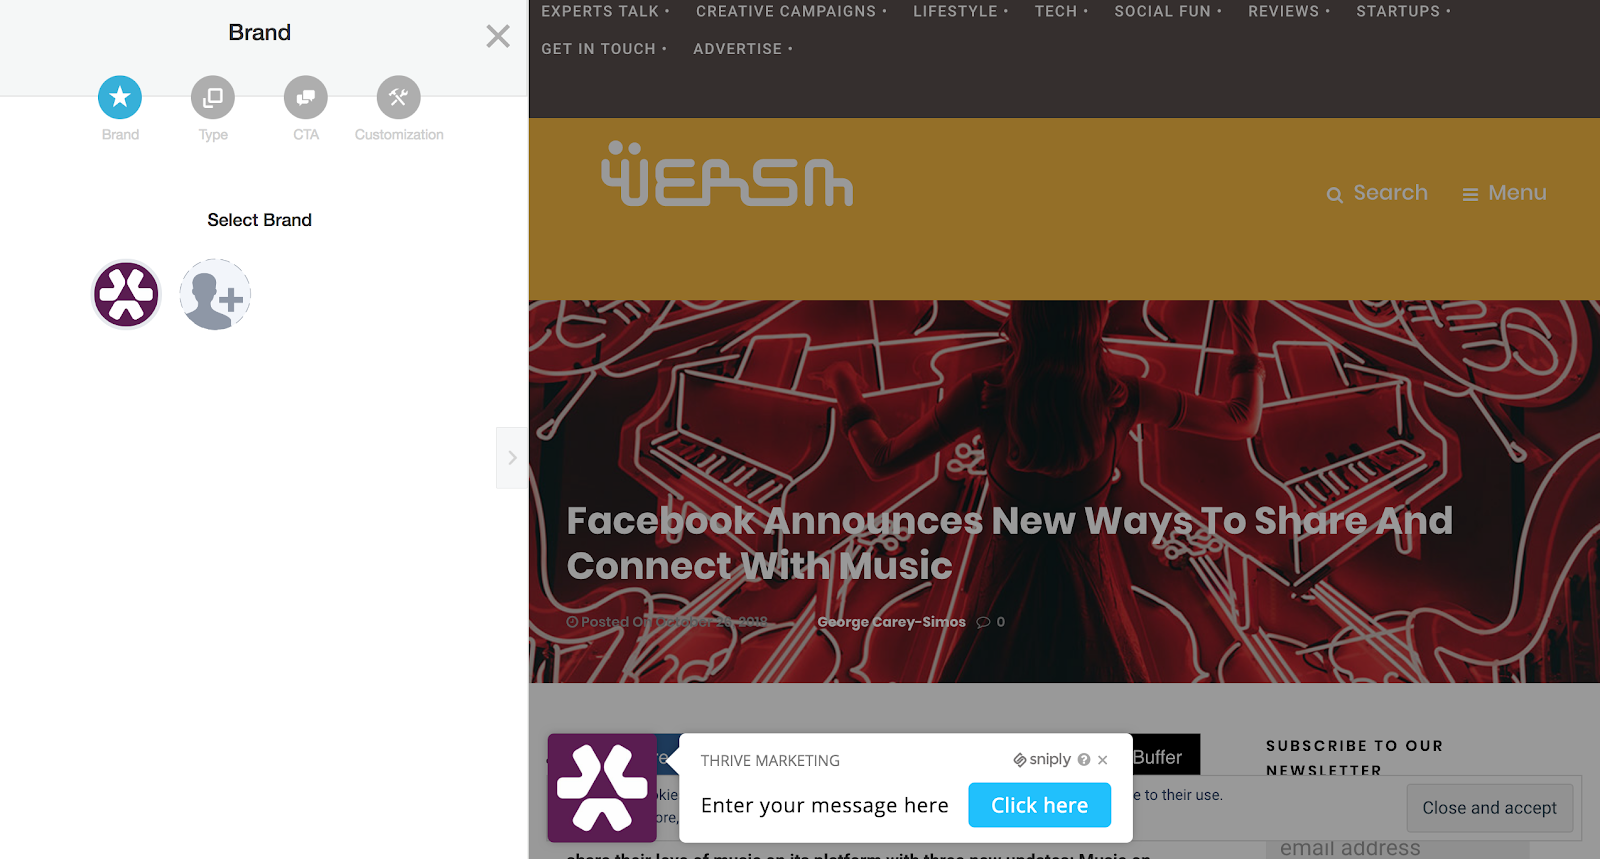
First of all, select the brand you wish to use. With the free version of Sniply, you can only have one brand but you can subscribe to create several different businesses.
Step 6
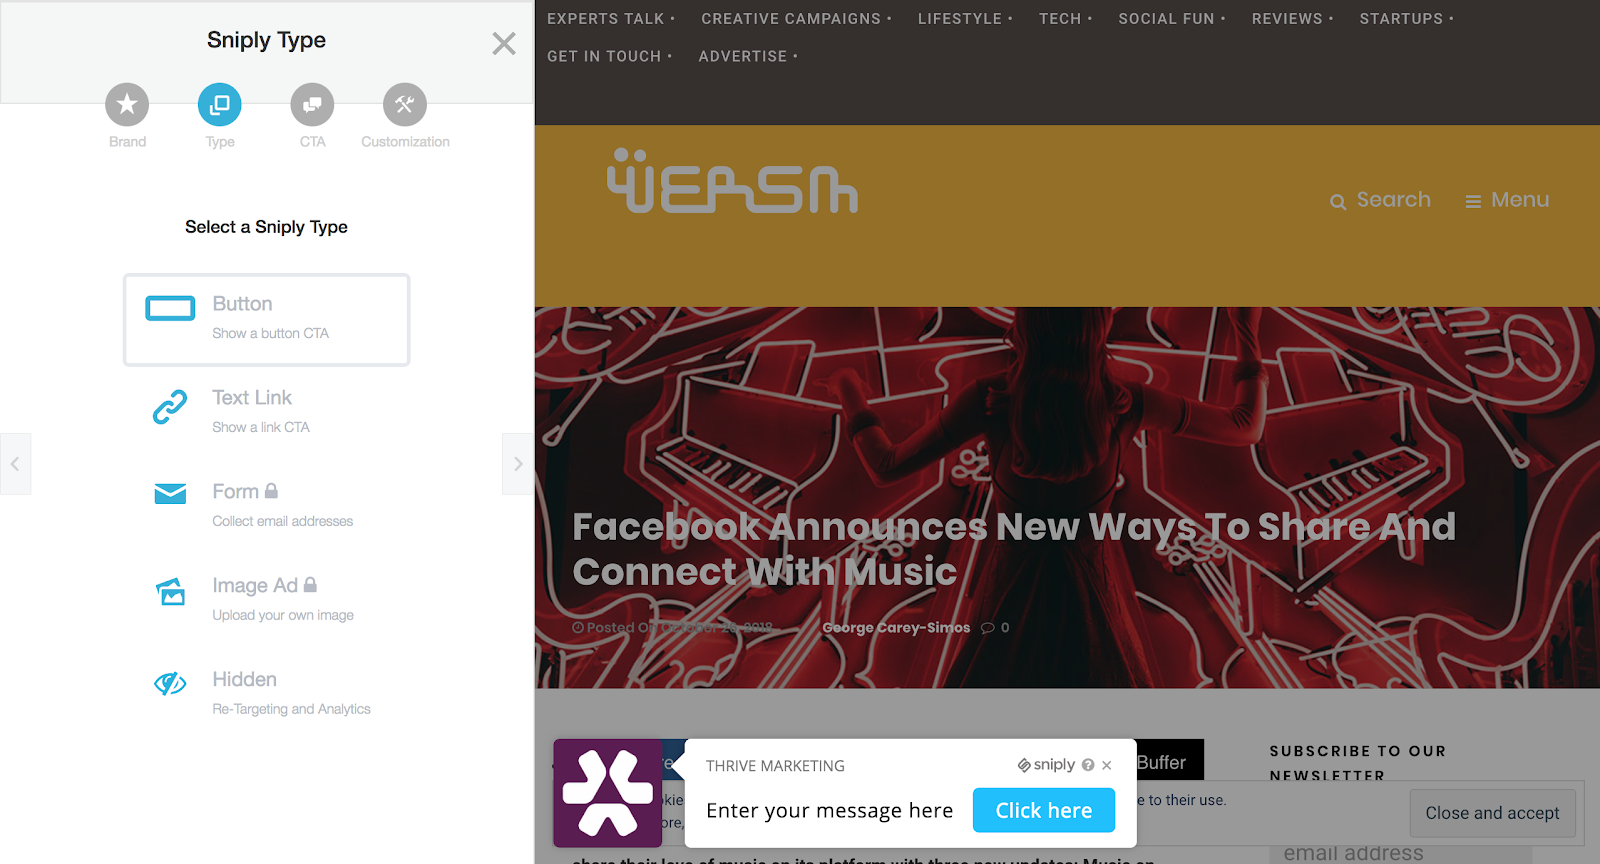
Select the type of Sniply you wish to create. With the free version, you can use button, text link or hidden (which is great for re-targeting and analytics).
Step 7
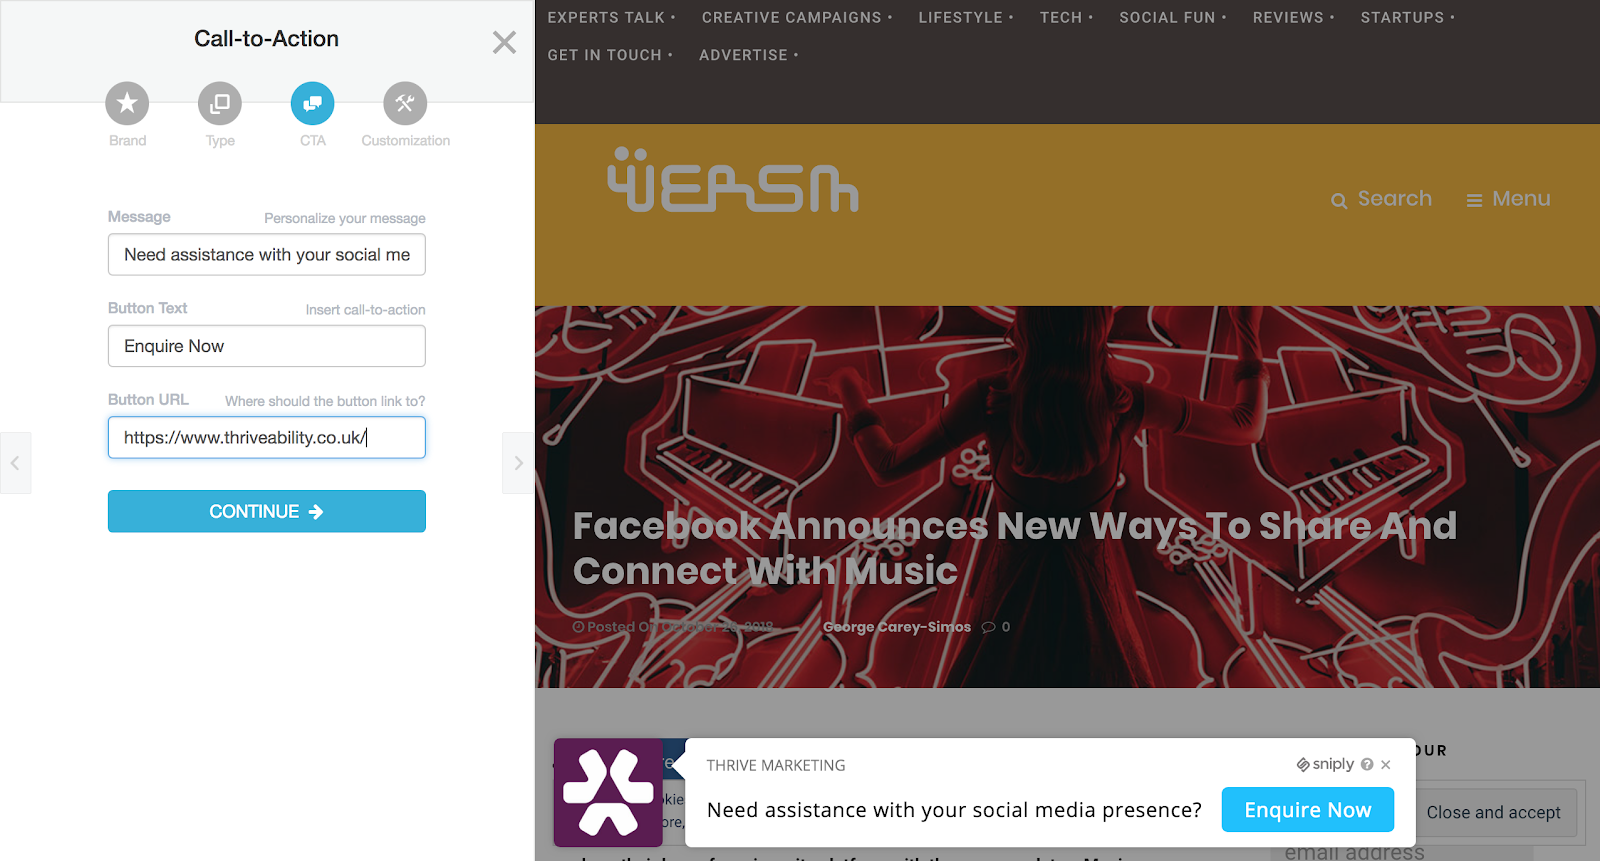
Now it’s time to enter your message and button text, plus the URL on your website that you want your audience to visit. You can create multiple CTAs so you can mix and match them for different pieces of content.
Step 8
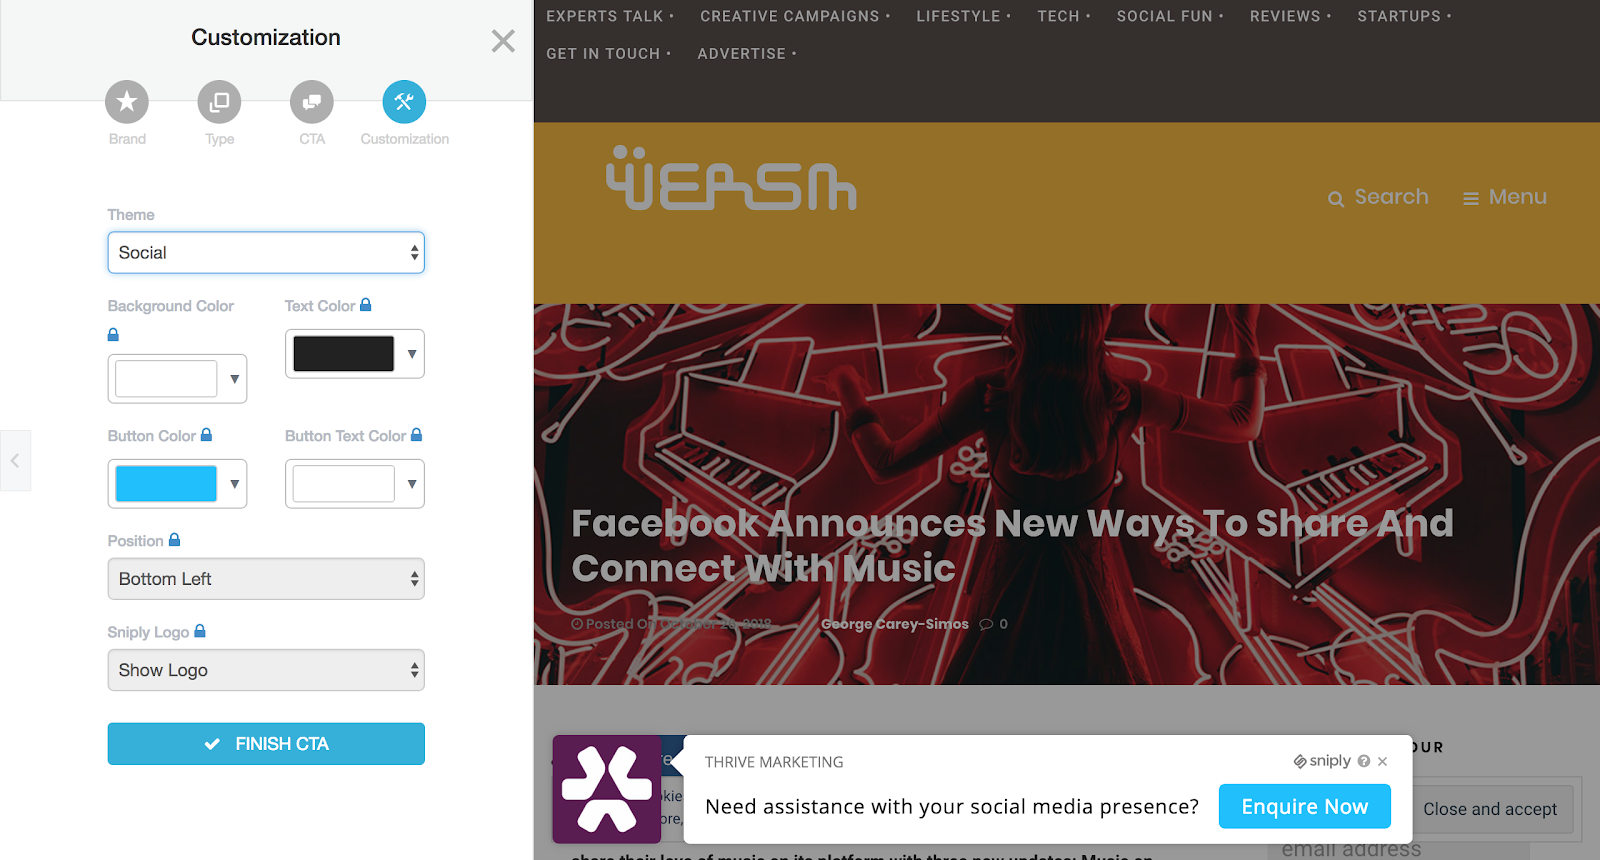
Customisation options are limited with the free version of Sniply as you can only change the theme of your CTA. If you upgrade, you can choose colours as well as the position of the button and logo.
Step 9
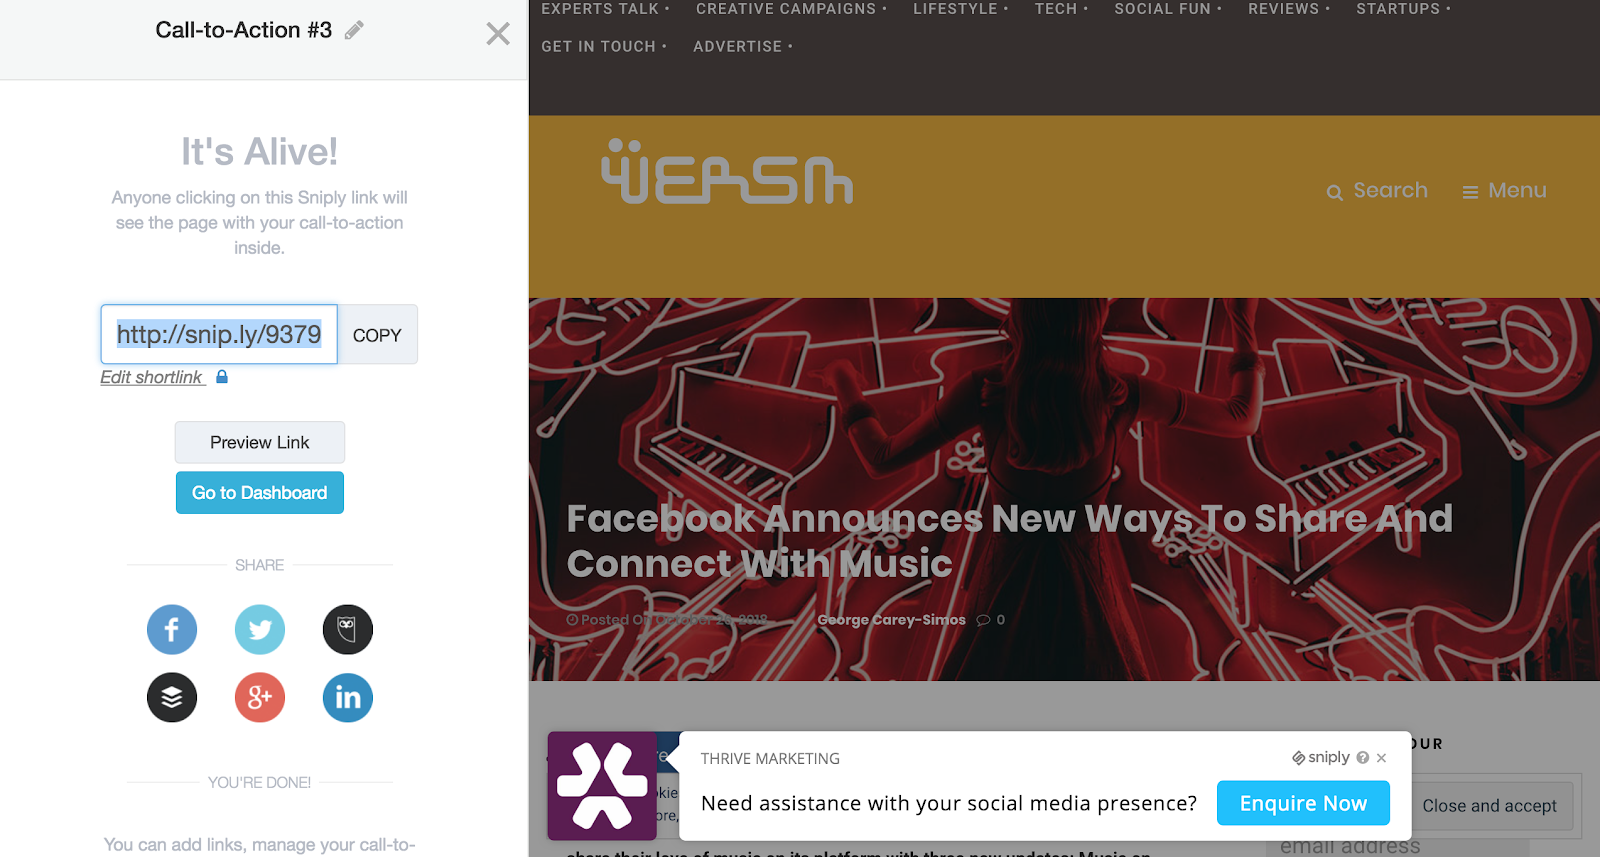
The Sniply process is complete! You now have your link to post across social media and you can also preview the page before you share it.
Step 10
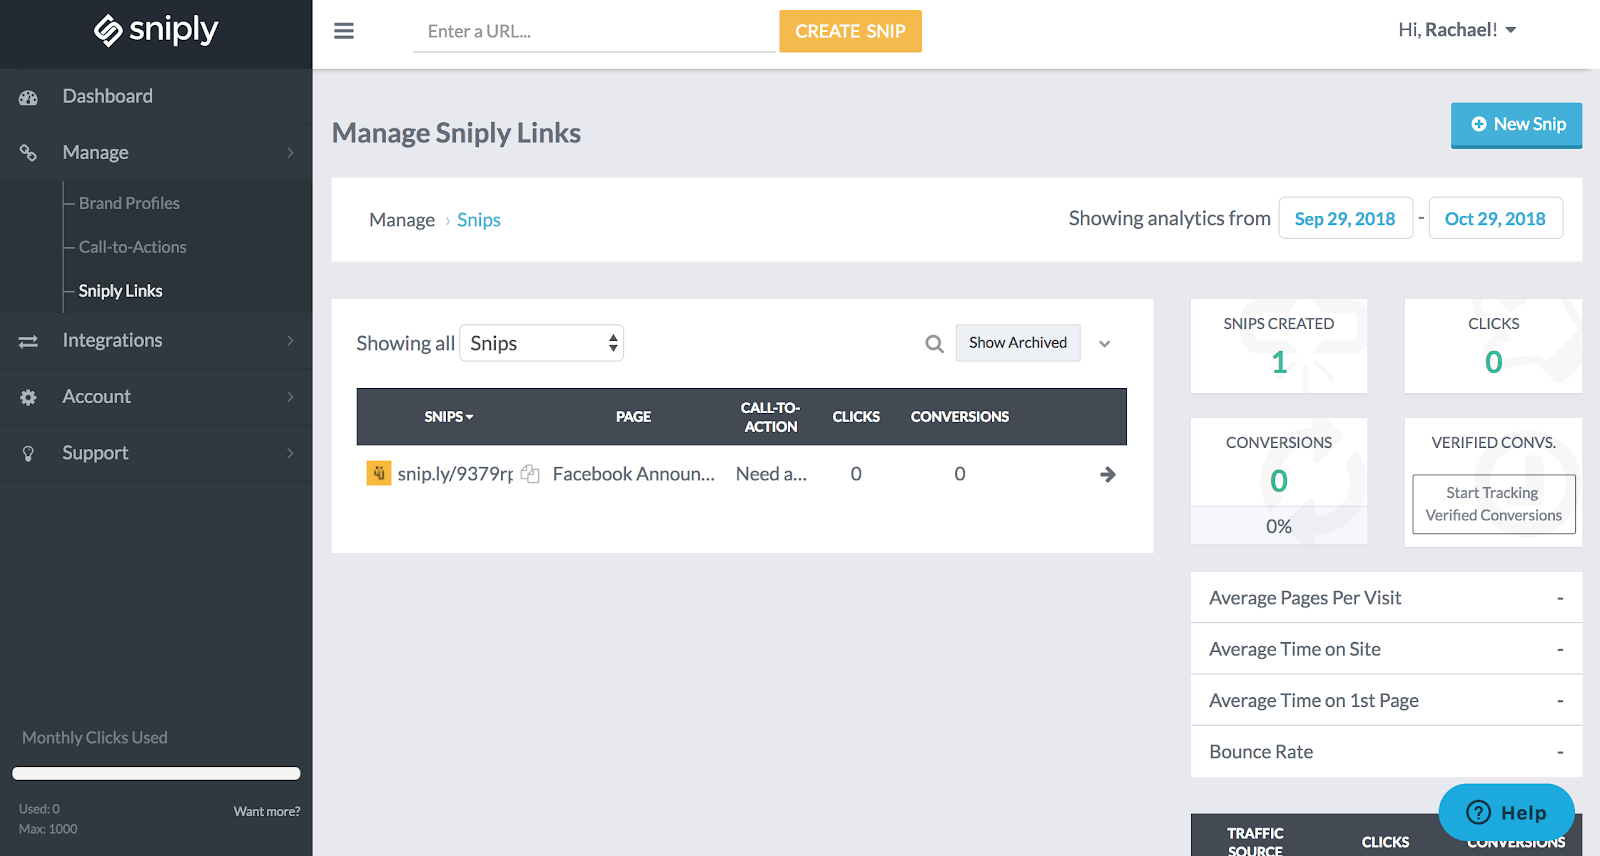
It doesn’t end there! Don’t forget to check out the ‘Calls to Action’ and ‘Sniply Links’ sections to see how your snips are performing. You can view analytics on clicks and conversions to see which call to actions are driving more traffic than others.
Interested in Sniply? Share your thoughts with us by tweeting @ThriveHQ.